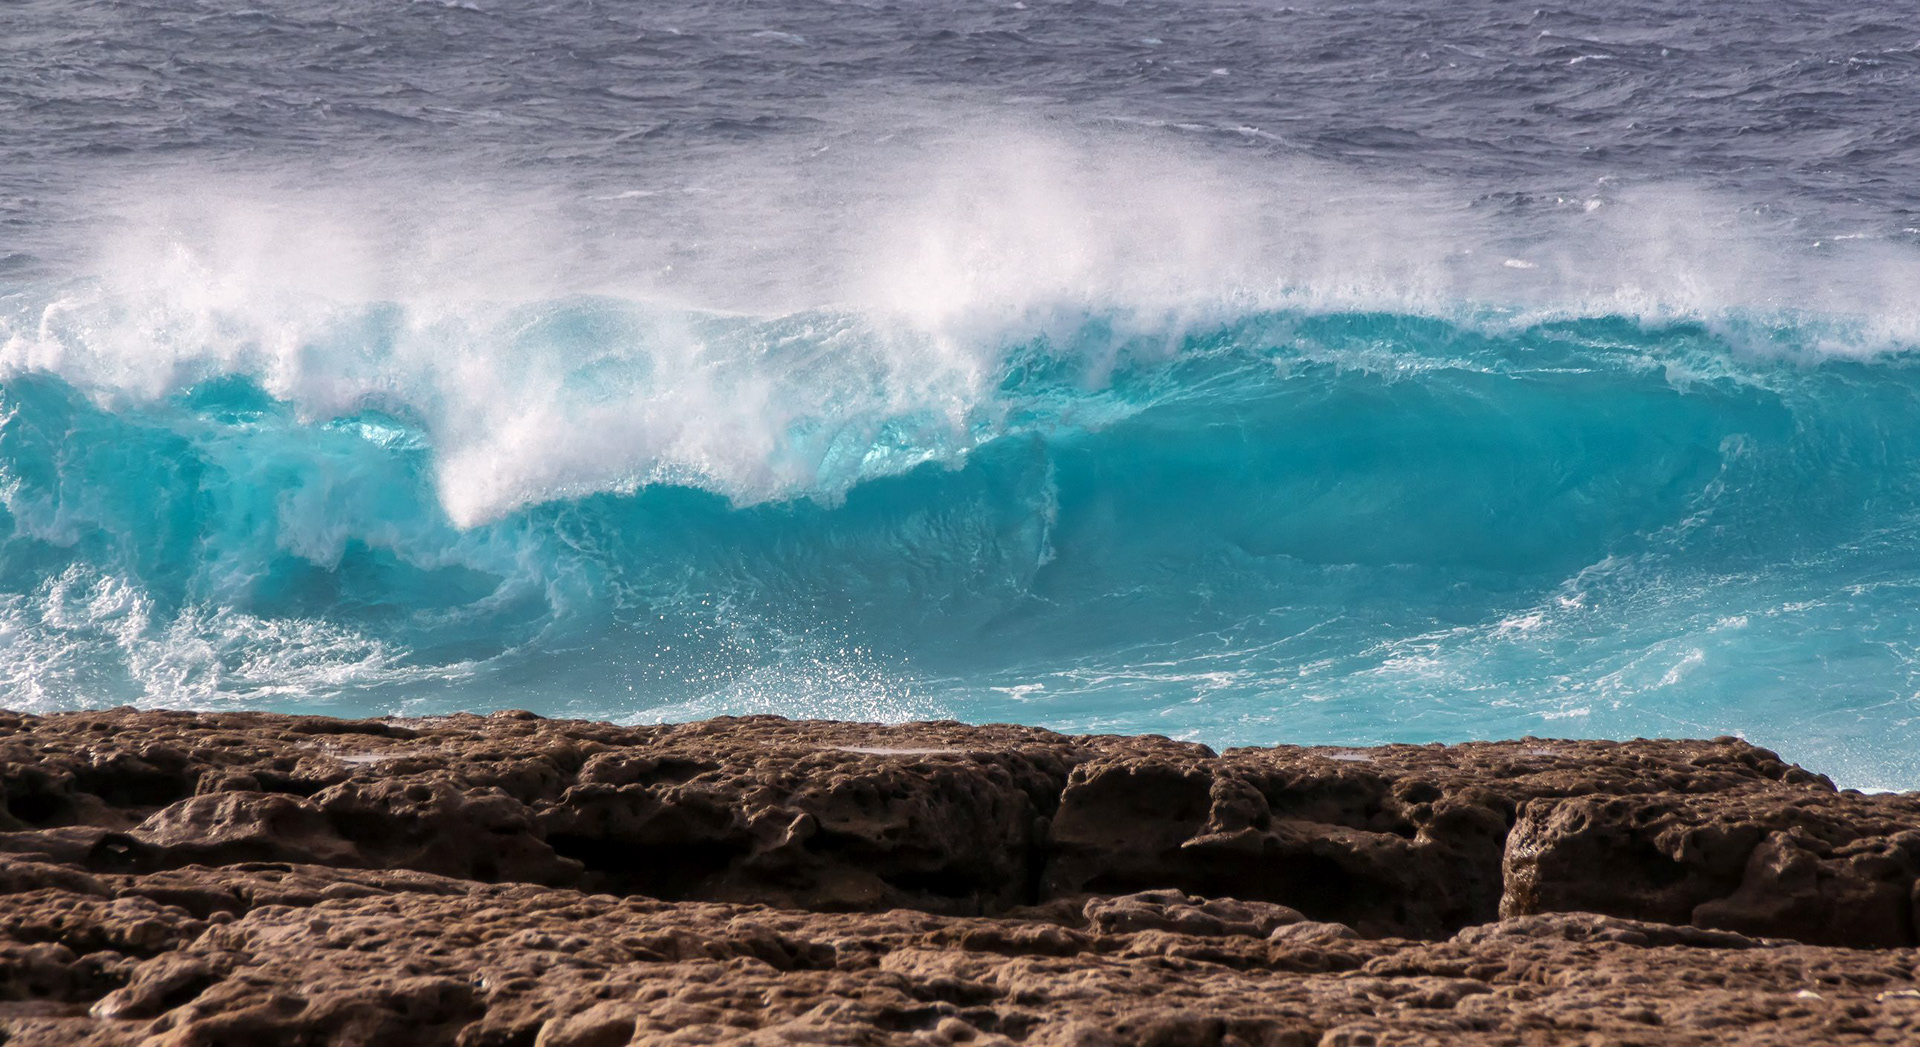
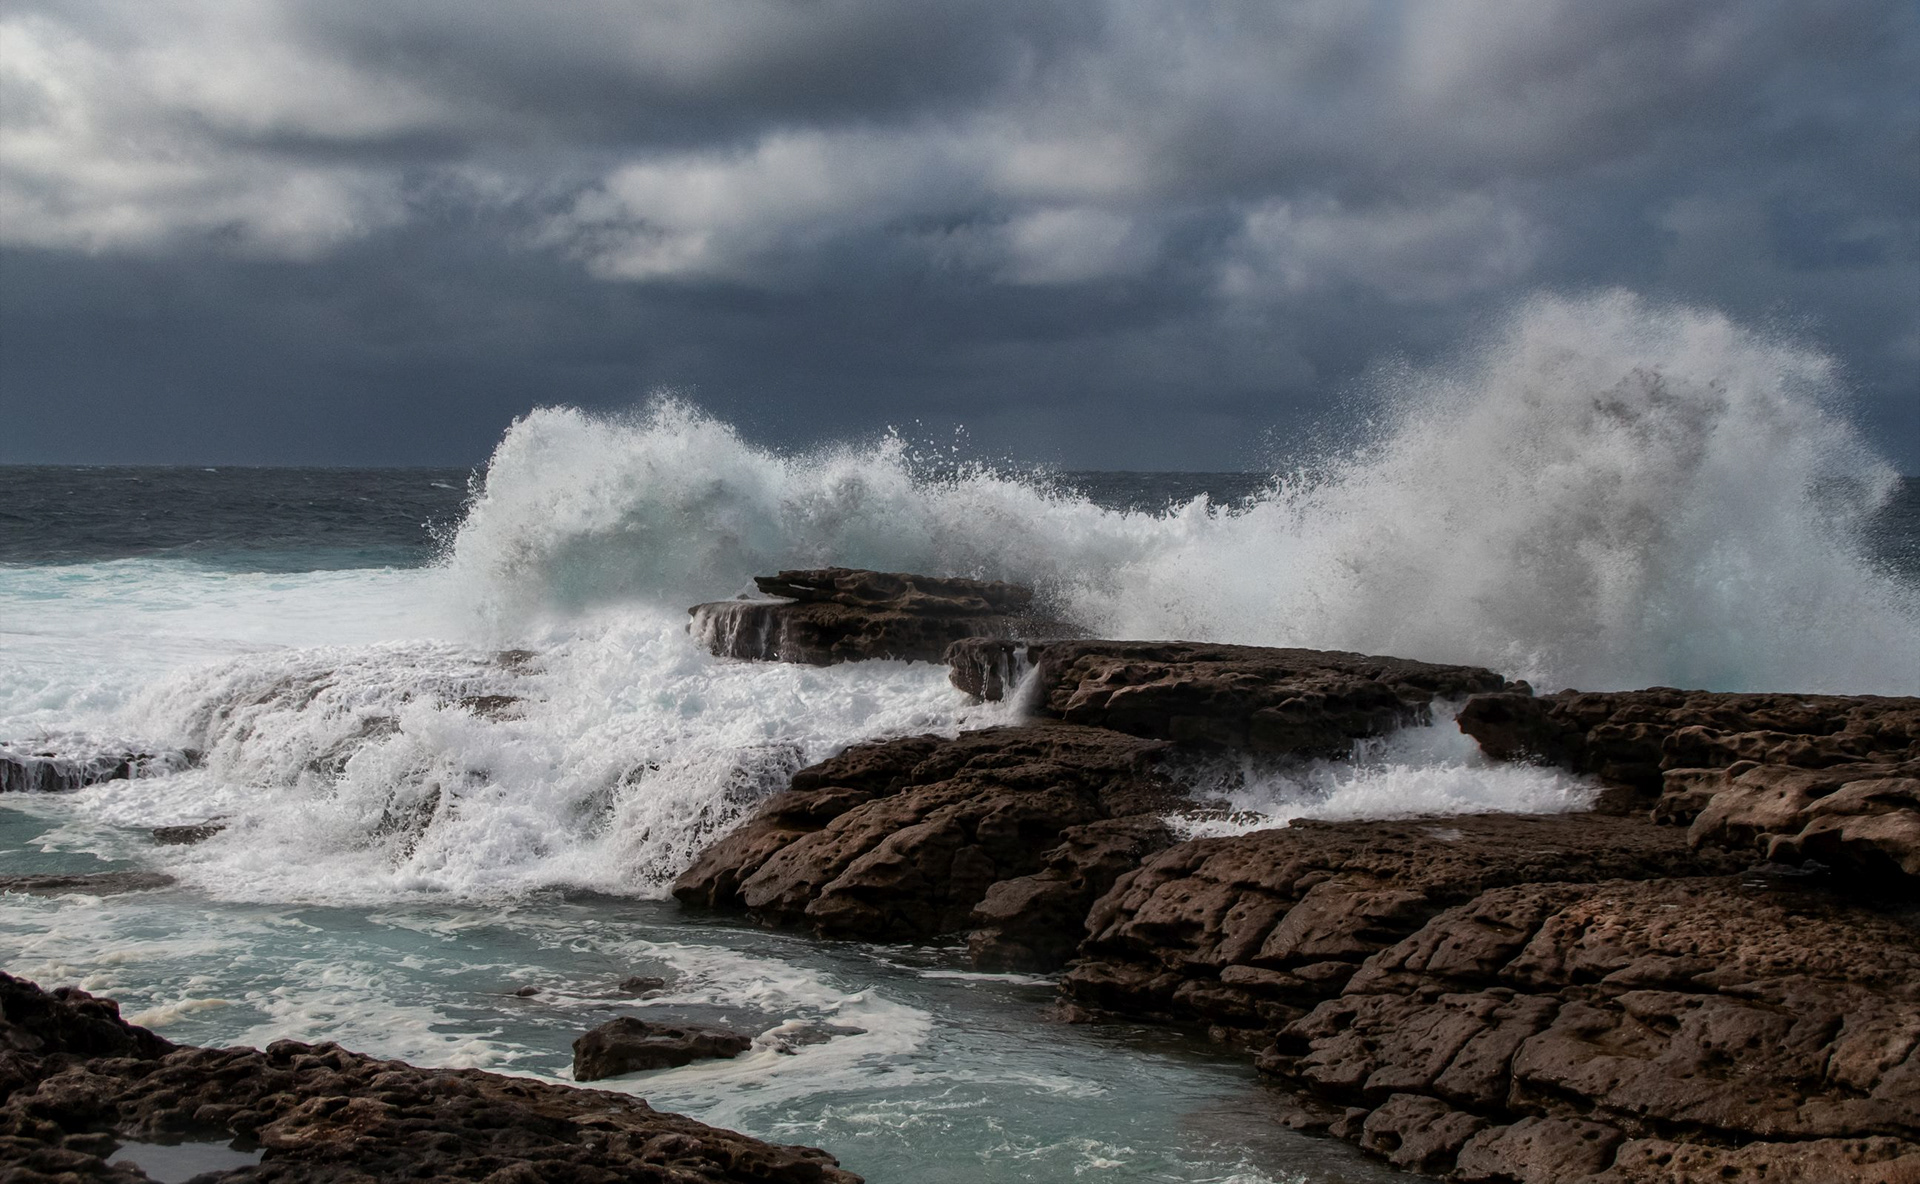
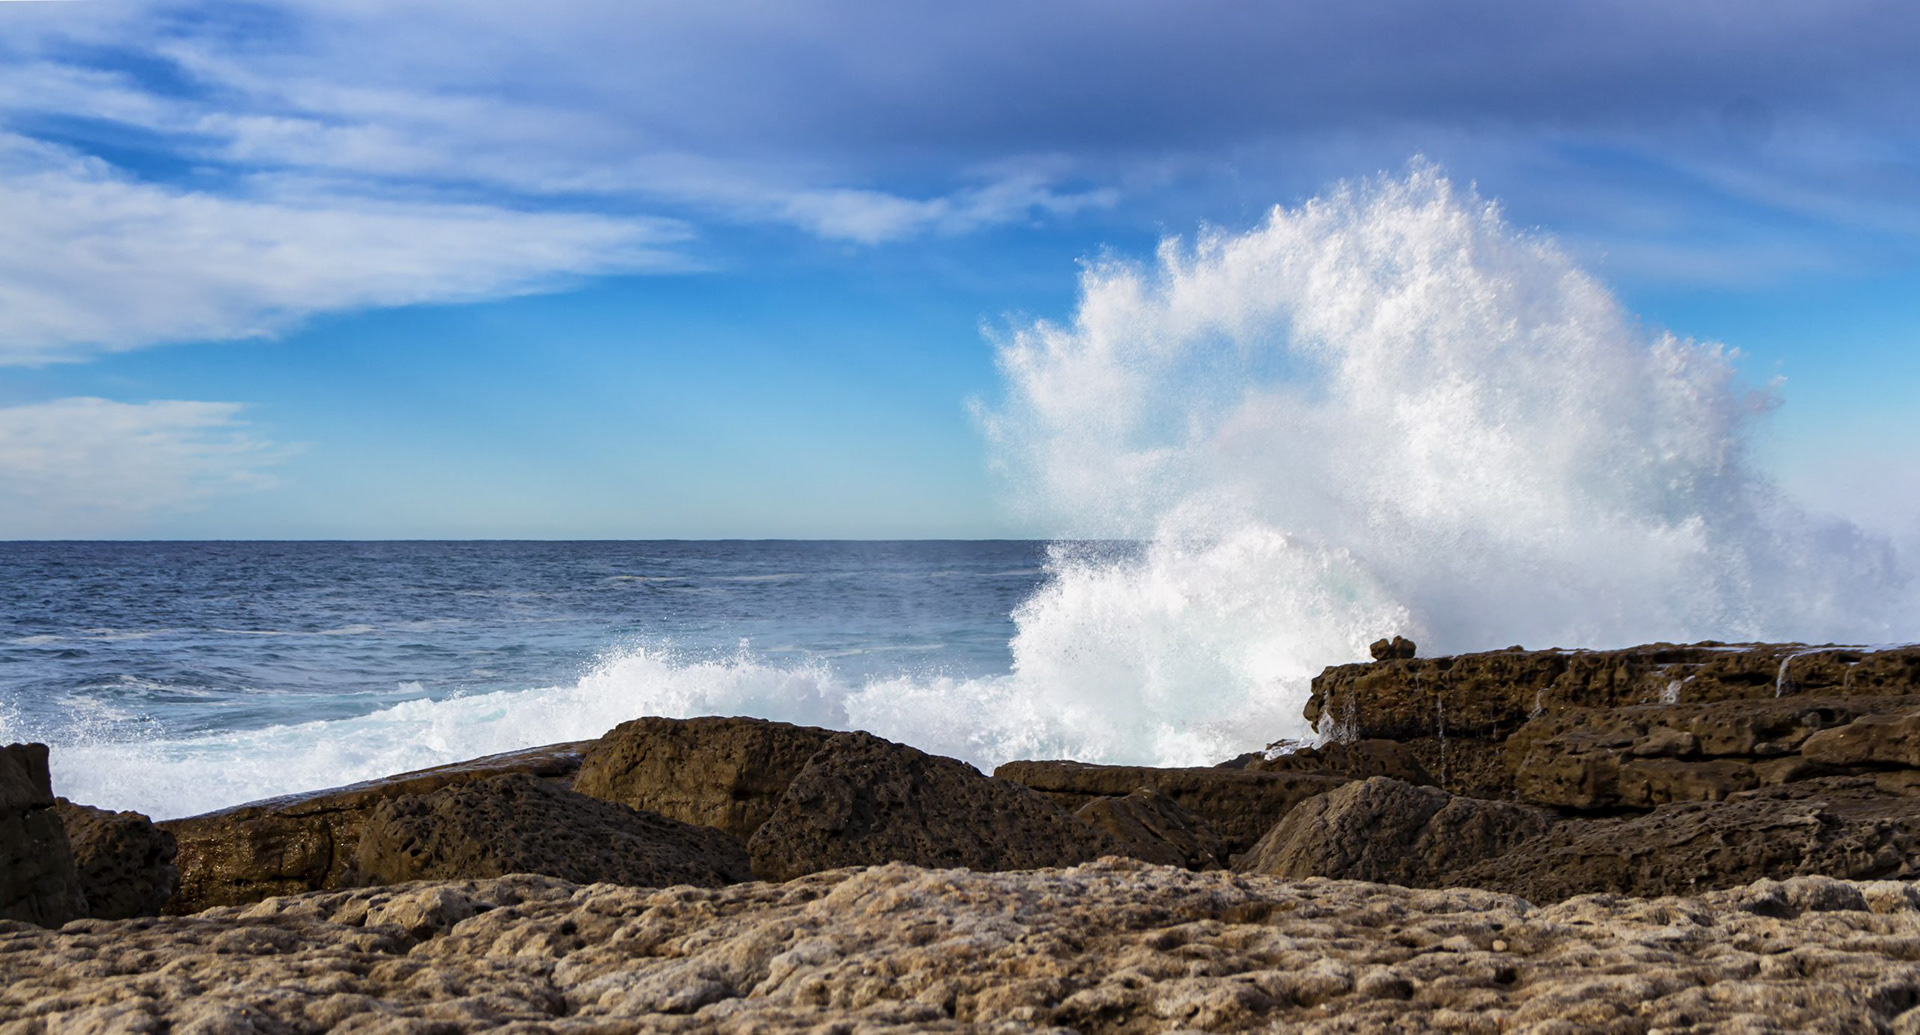
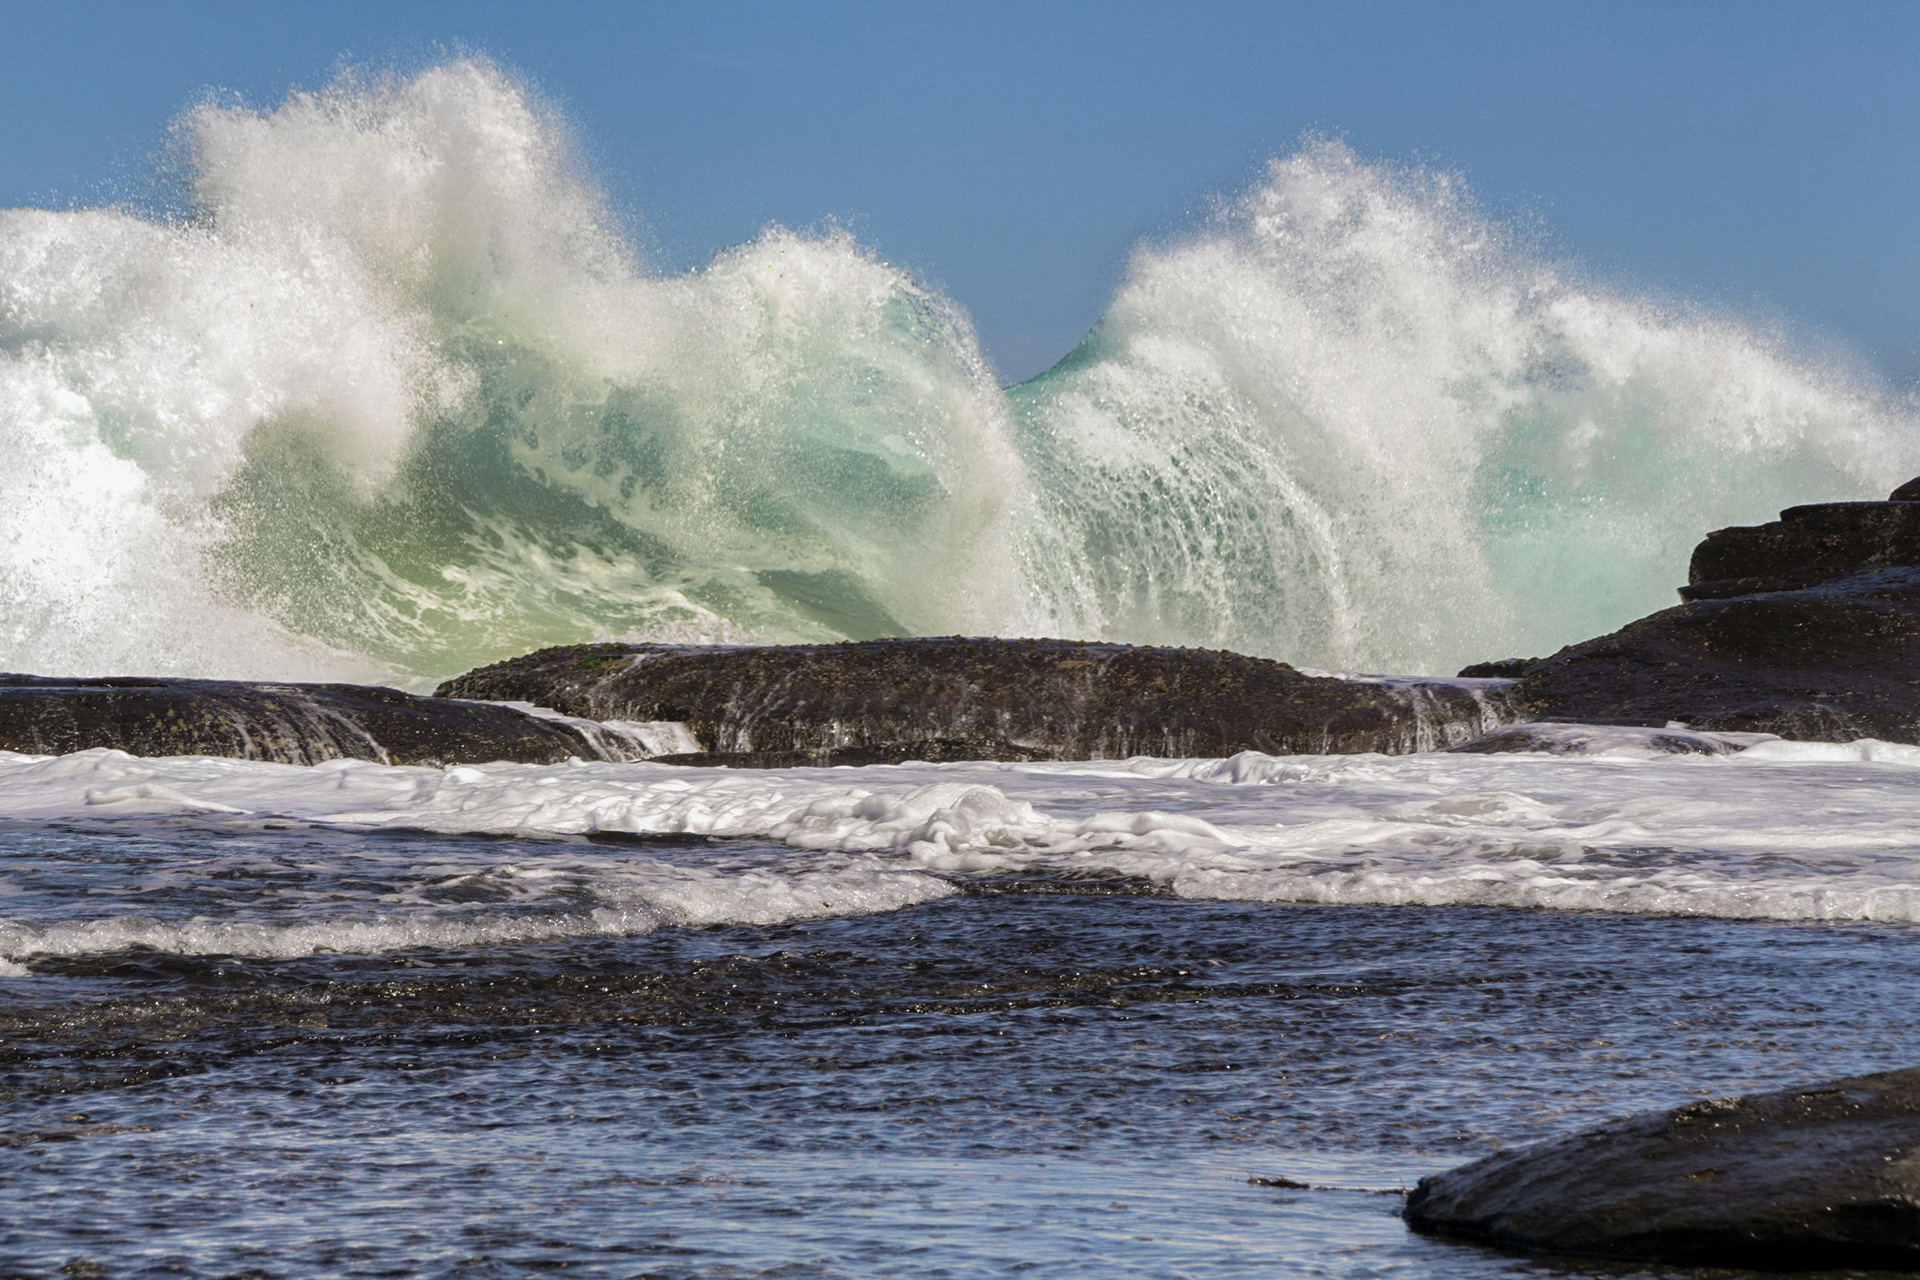
Big Swell at Moes Rock Winter
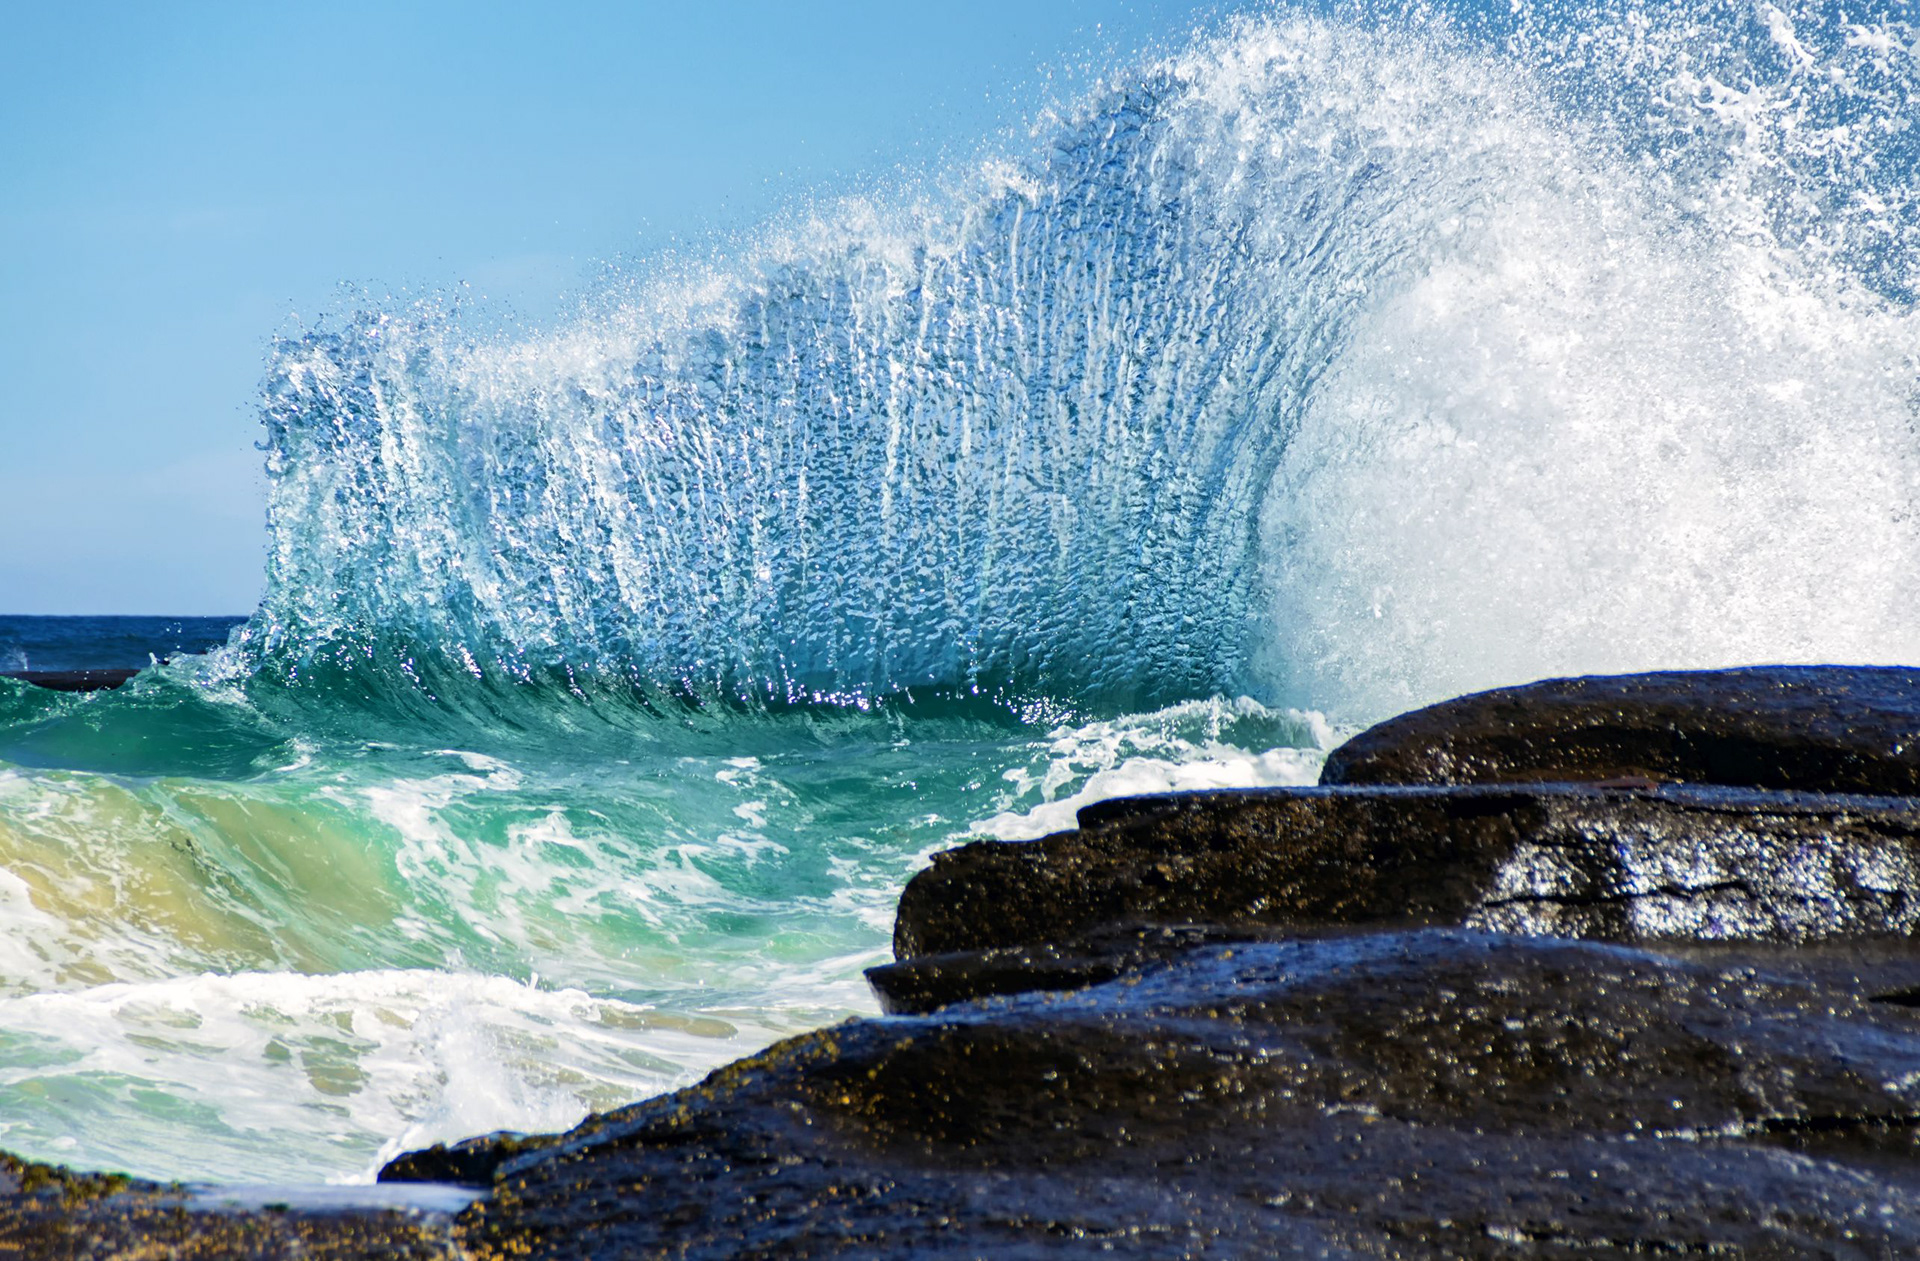
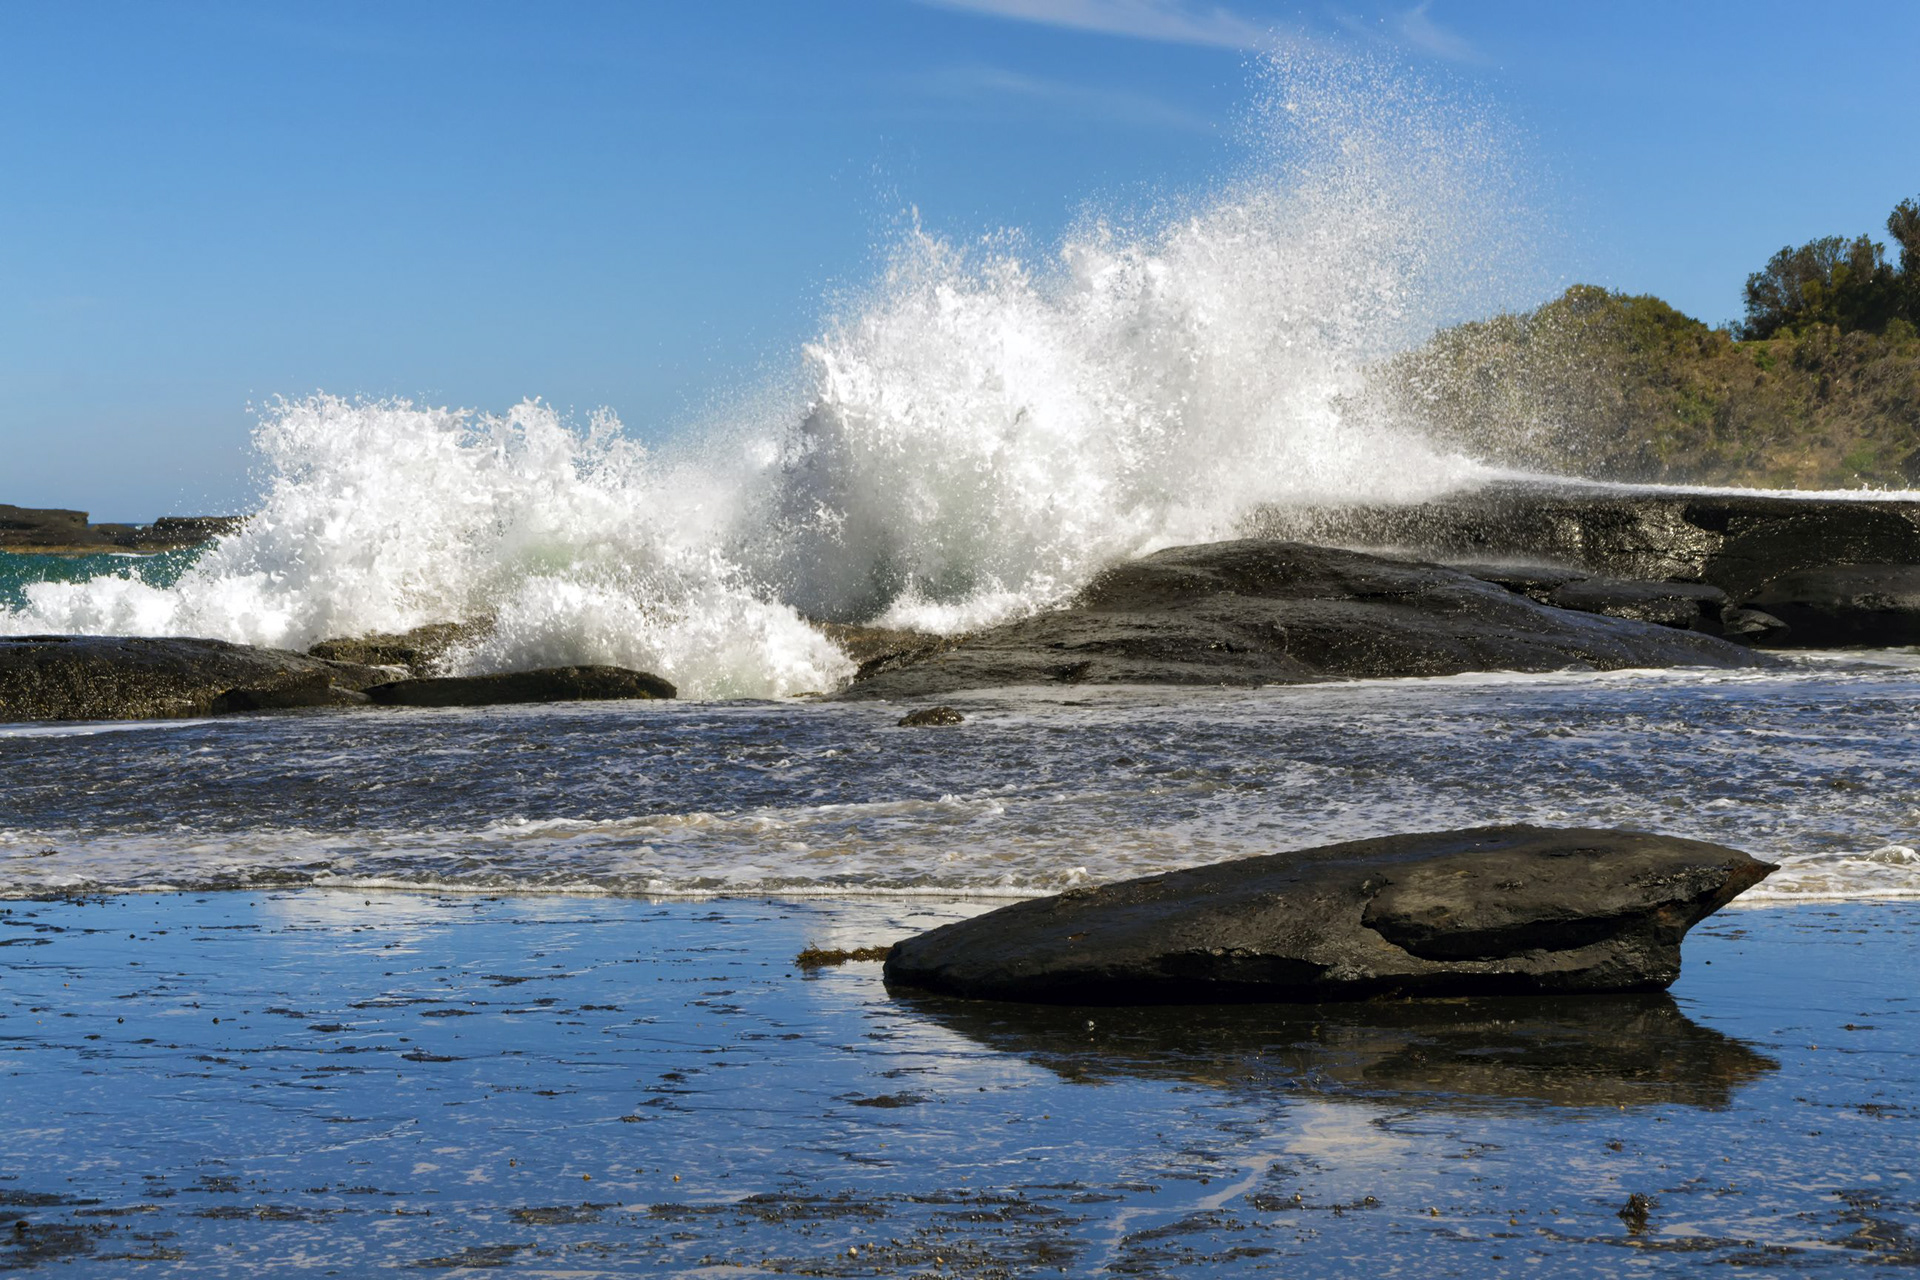
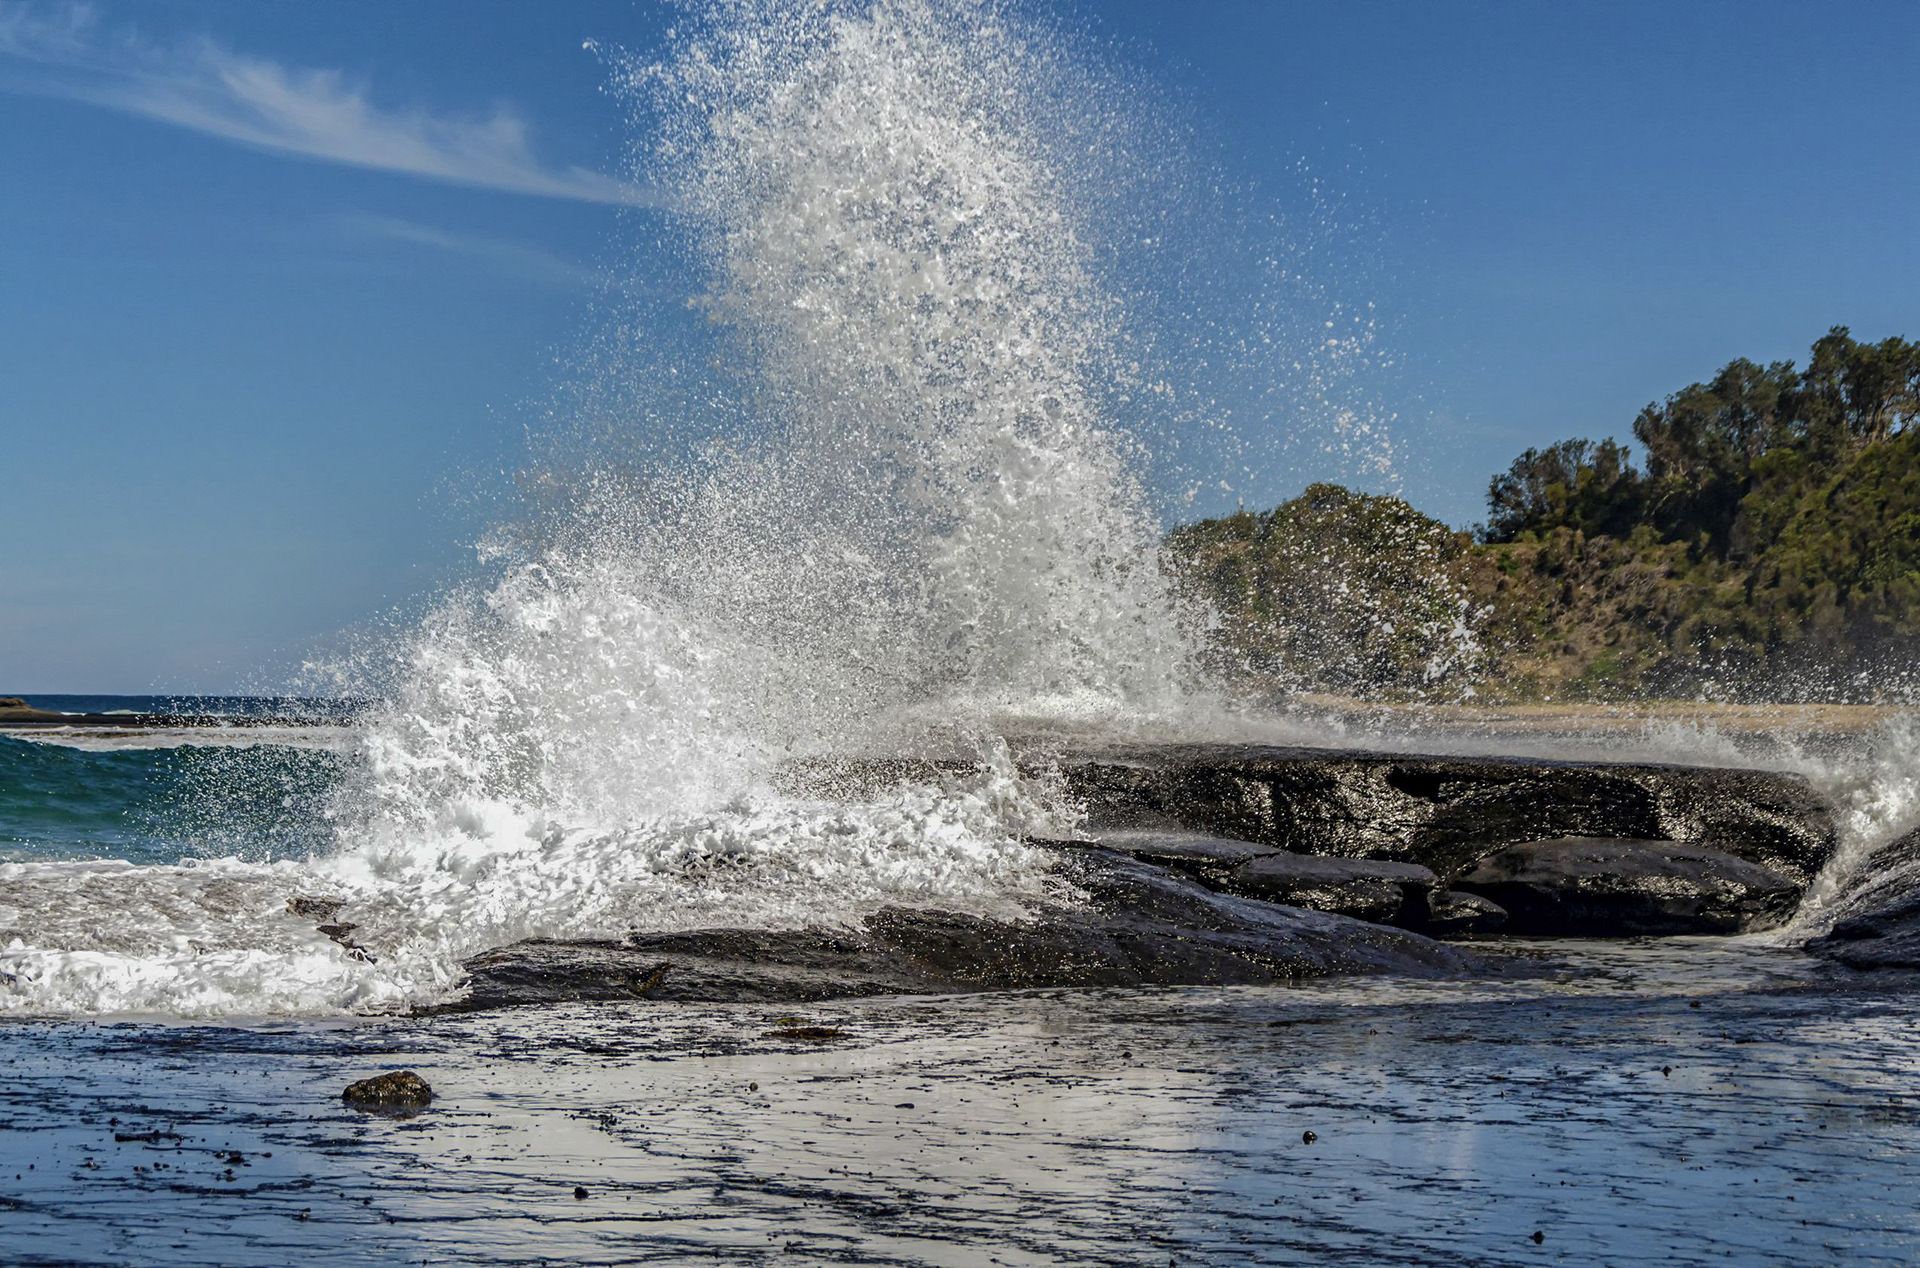
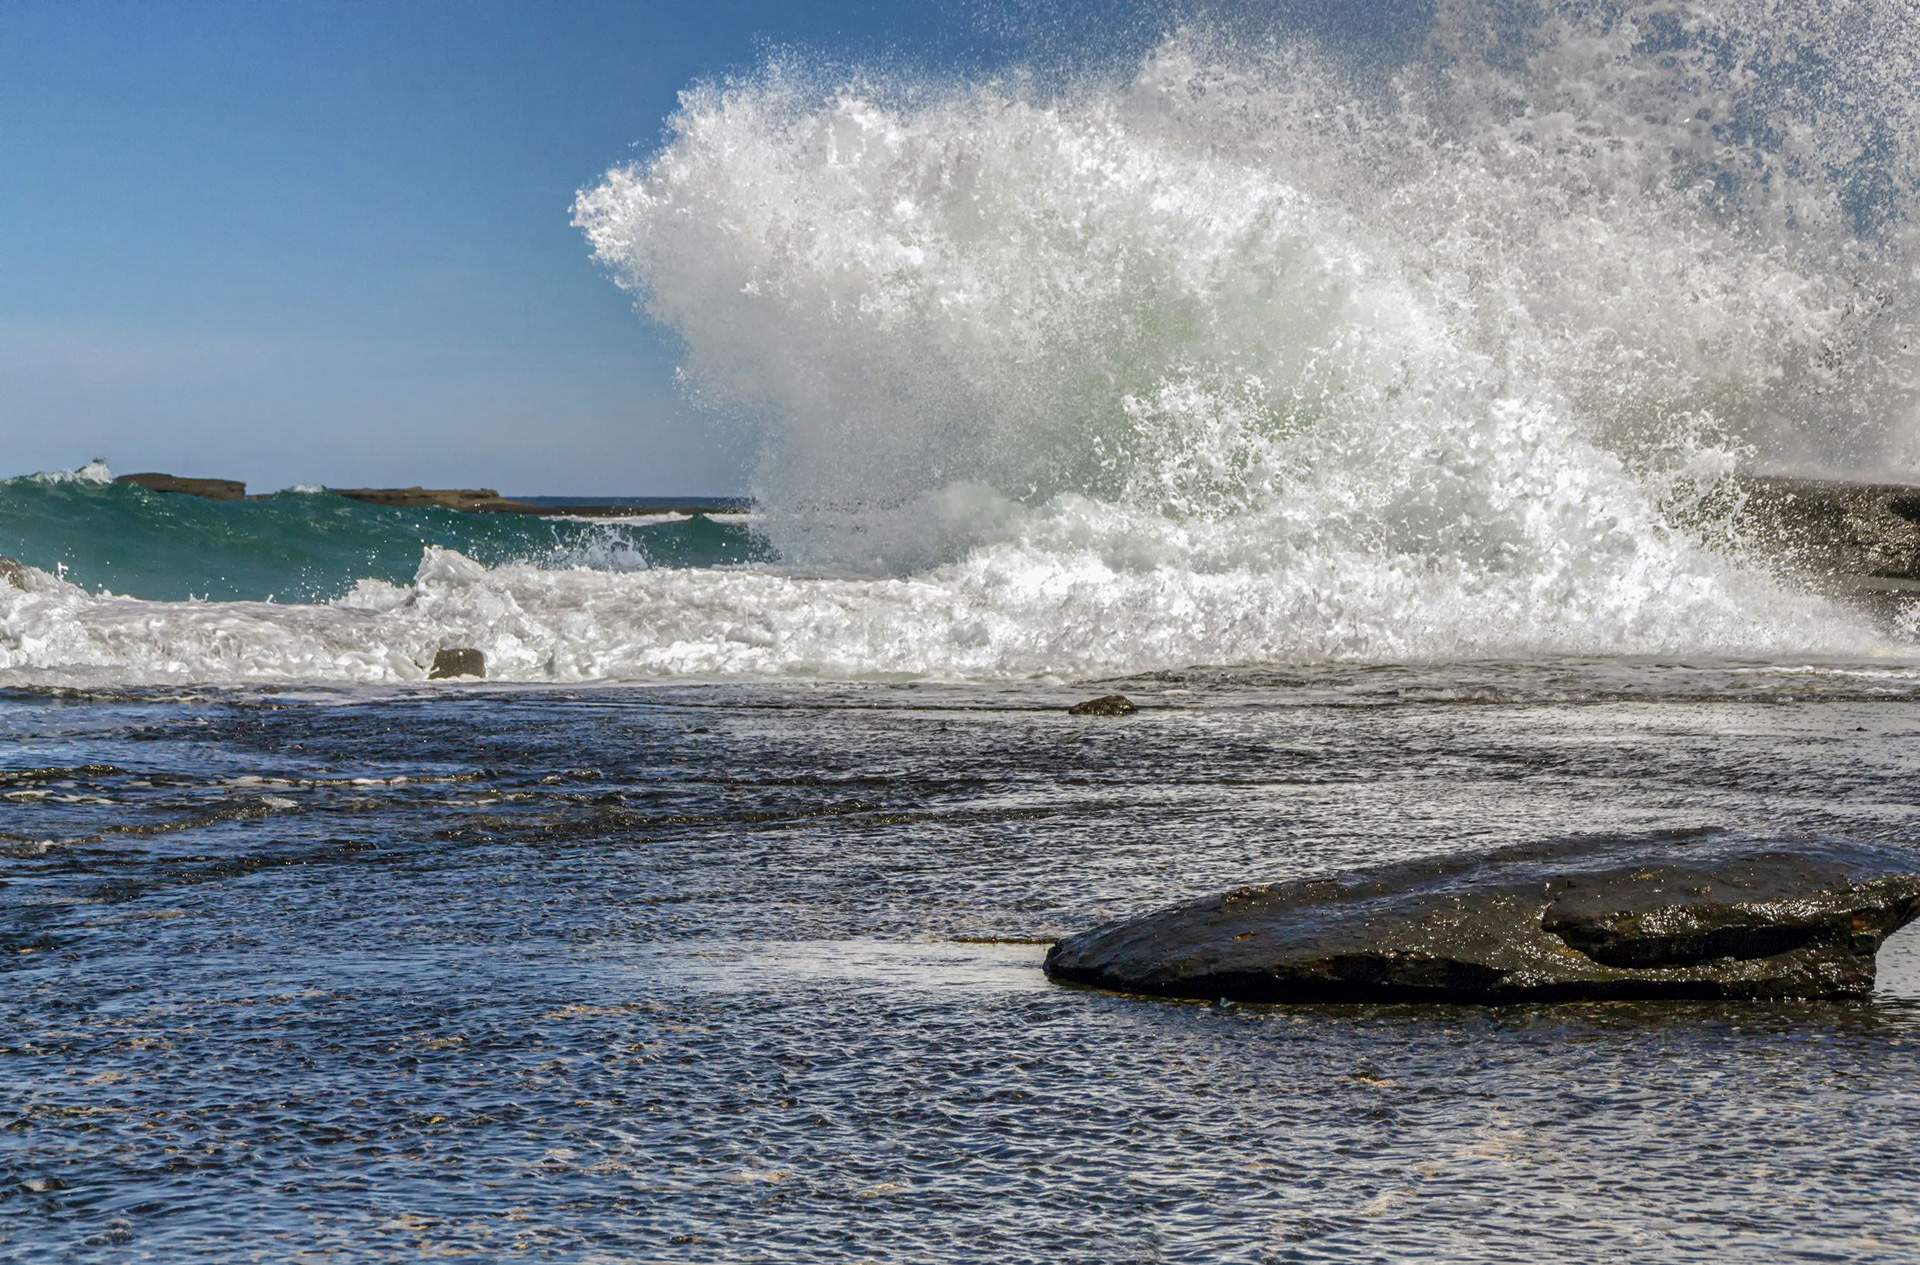
Gnarly Waves at Dolphin Point 5
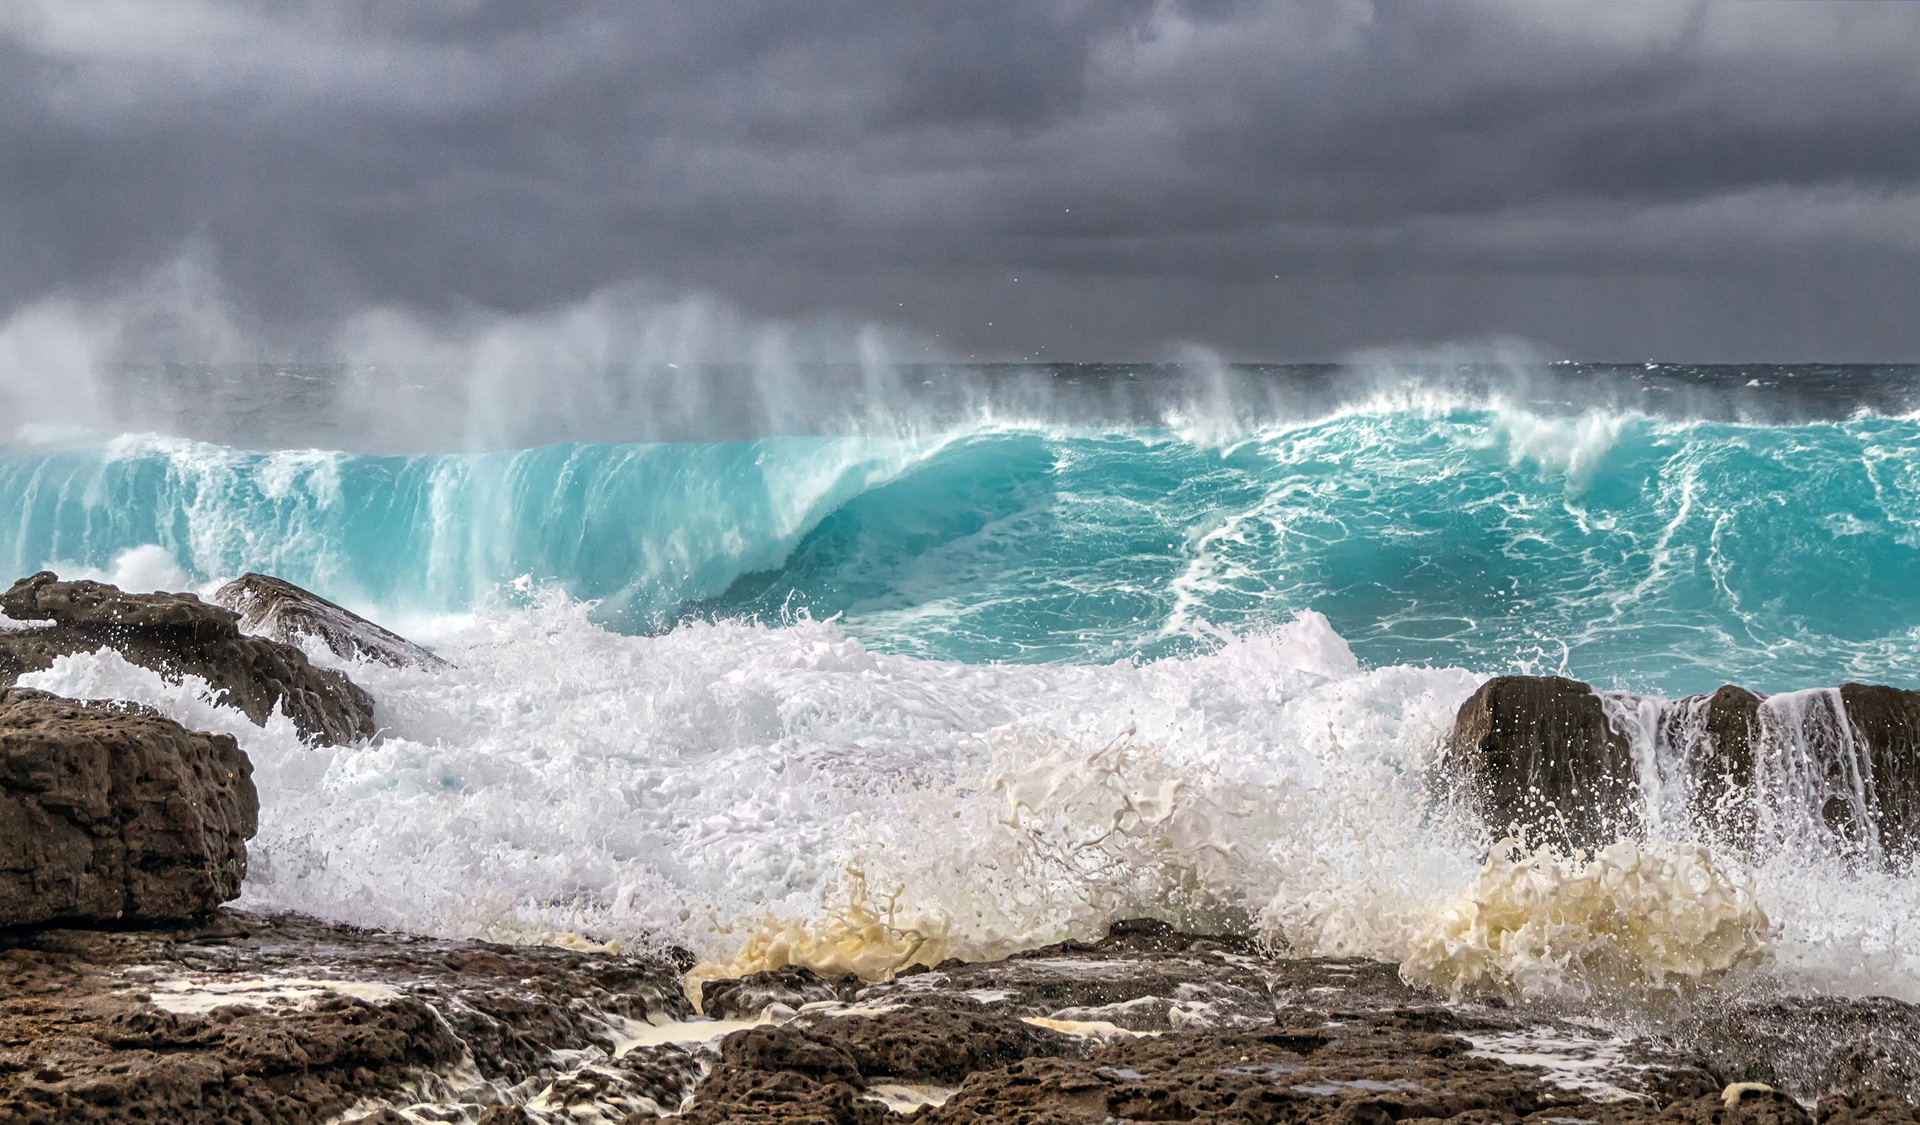
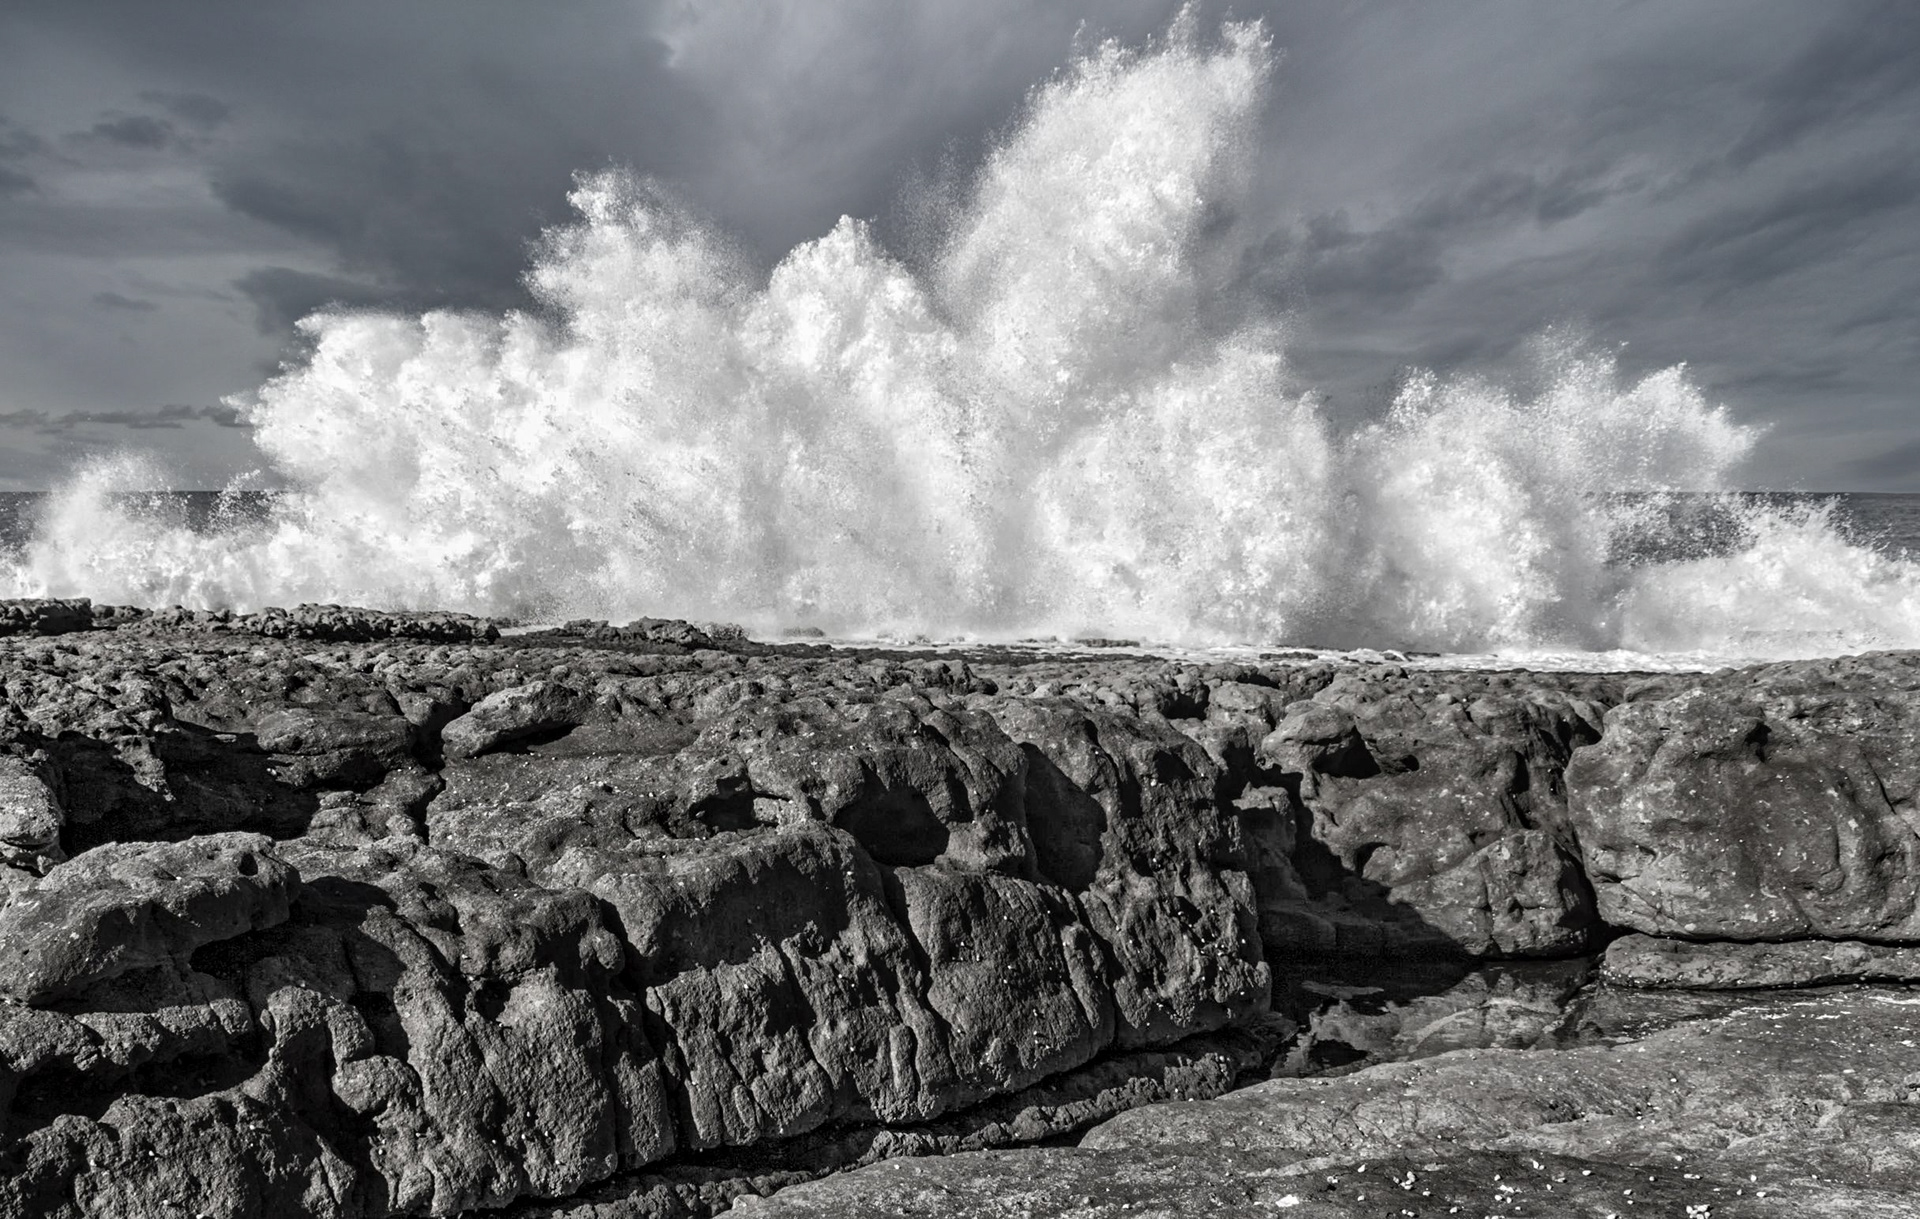
Moes Rock Rocking the Big Swell 6
Moes Rock Rocking the Big Swell 7
Moes Rock Rocking the Big Swell 9
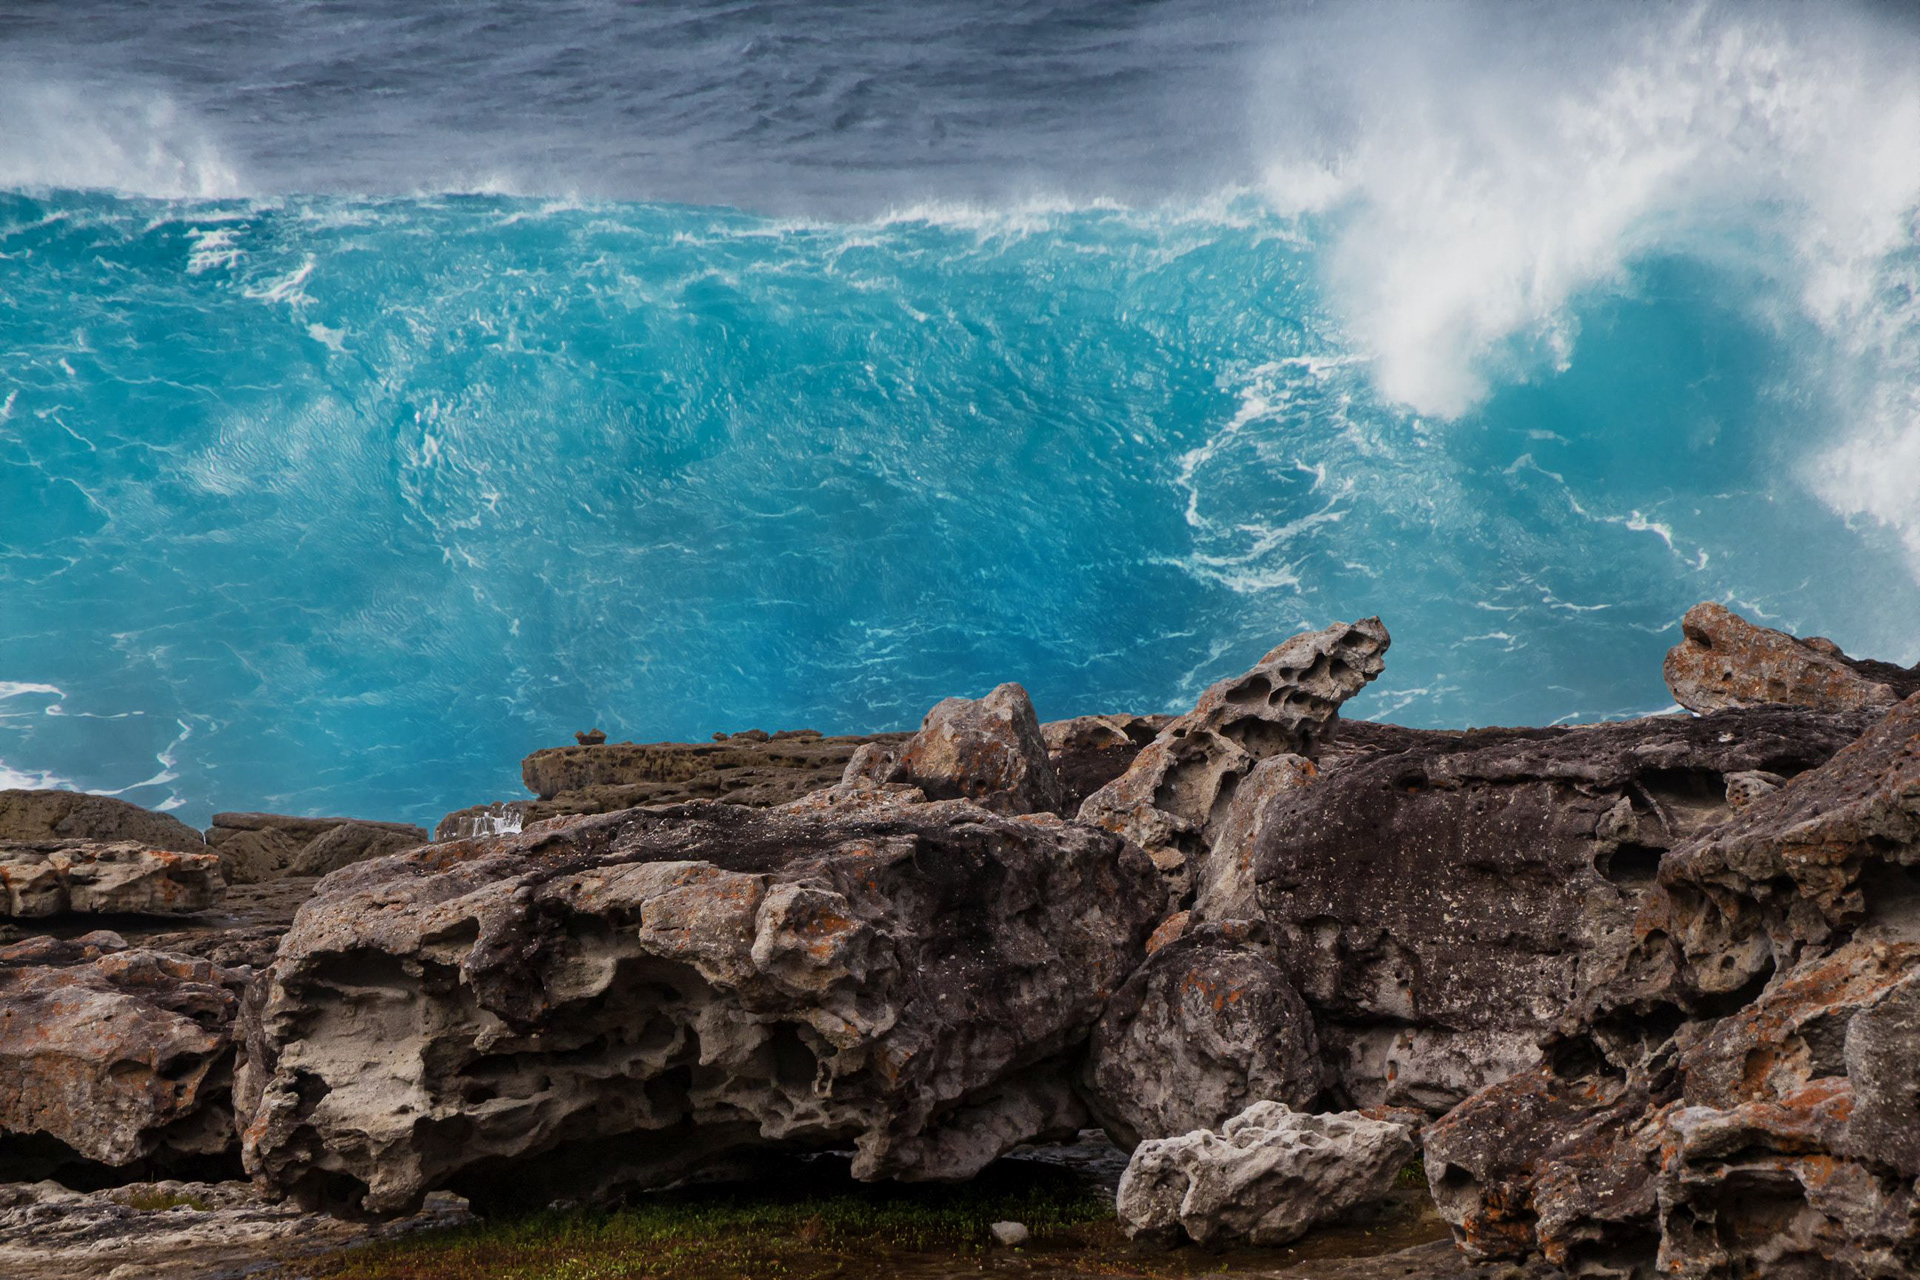
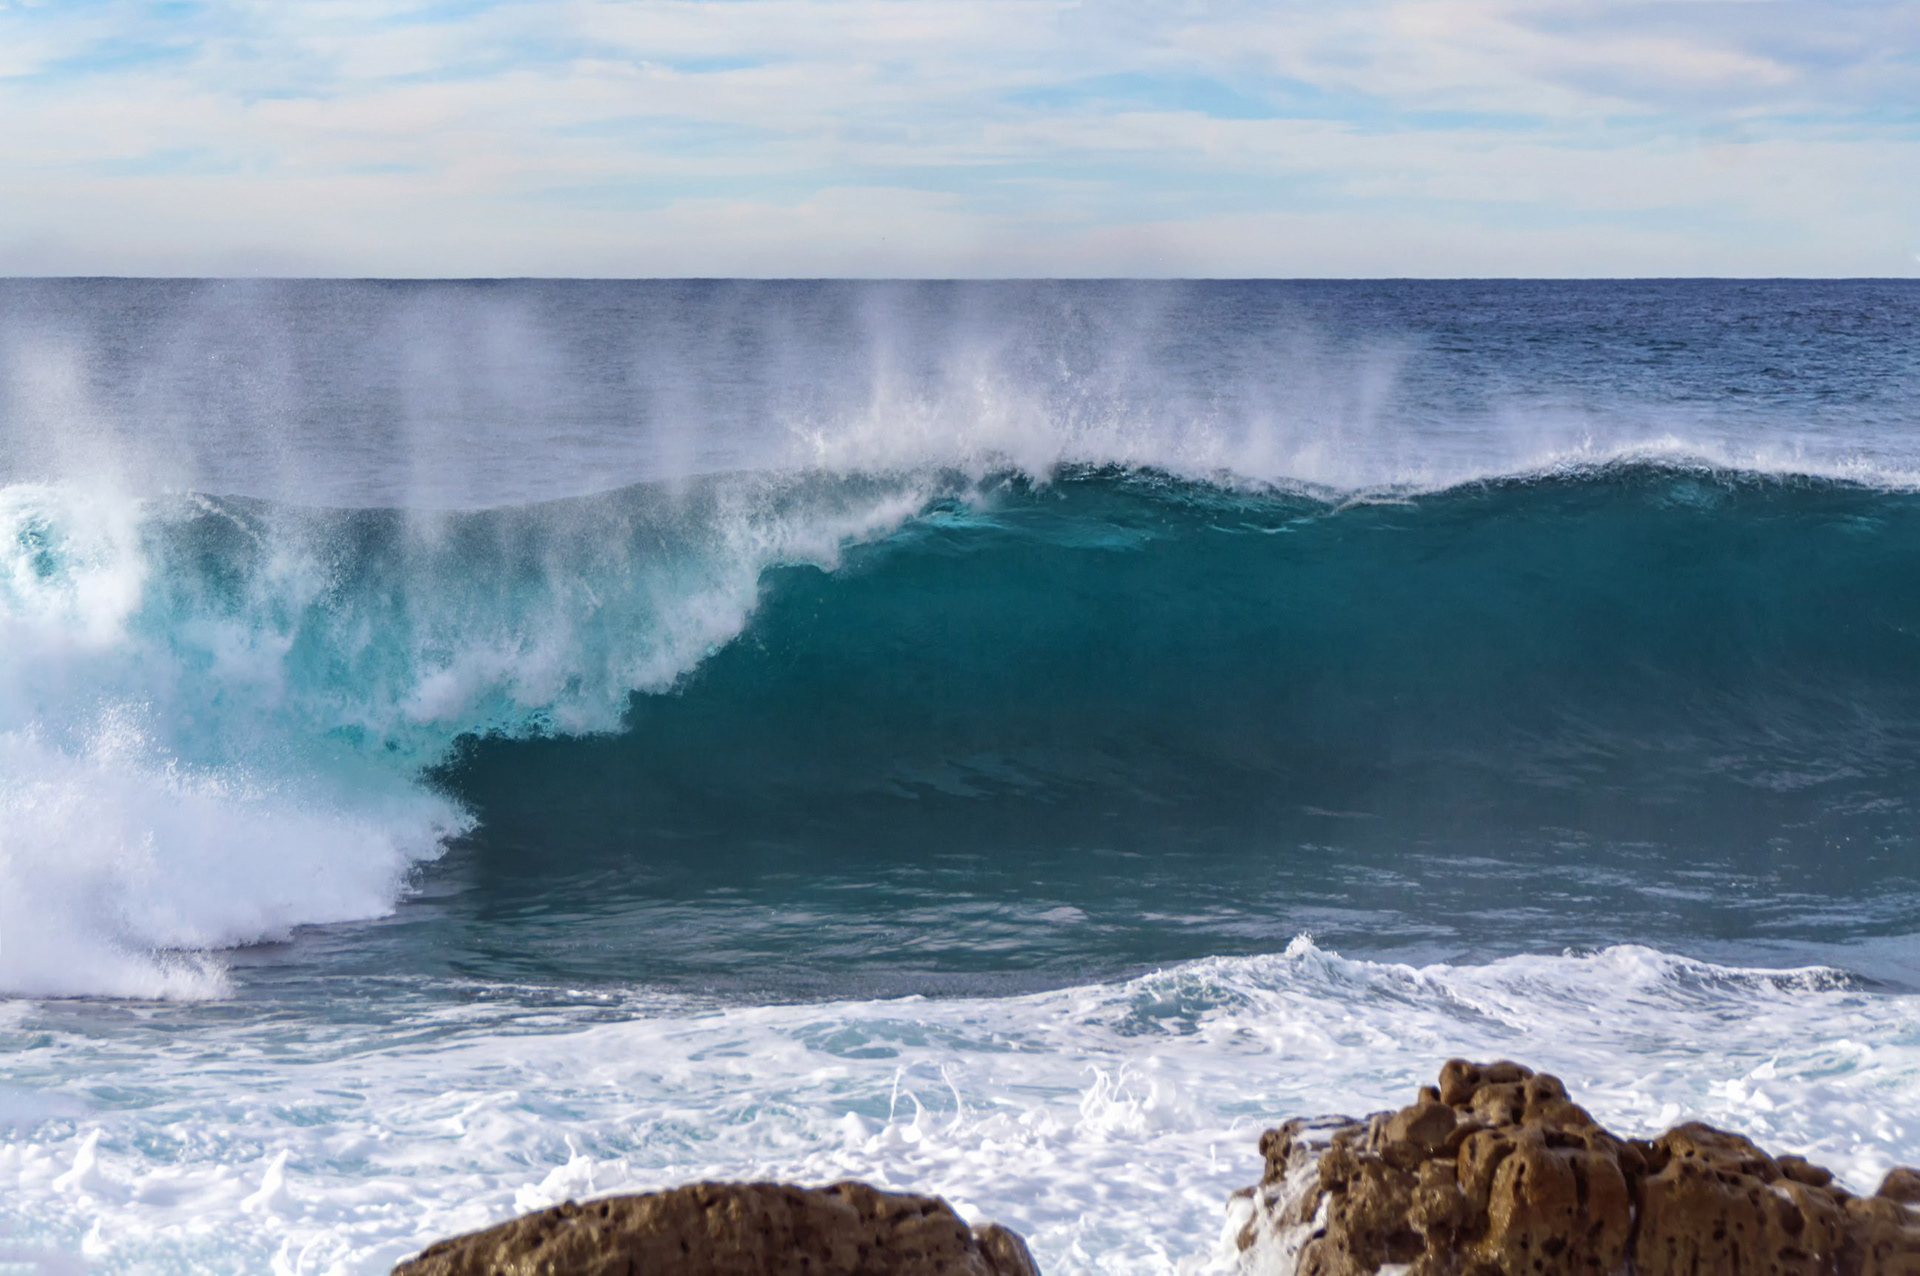
Tasman Sea wave
Swell at Moes Rock
Moes Rock Rocking the Big Swell 8
Moes Rock Rocking the Big Swell
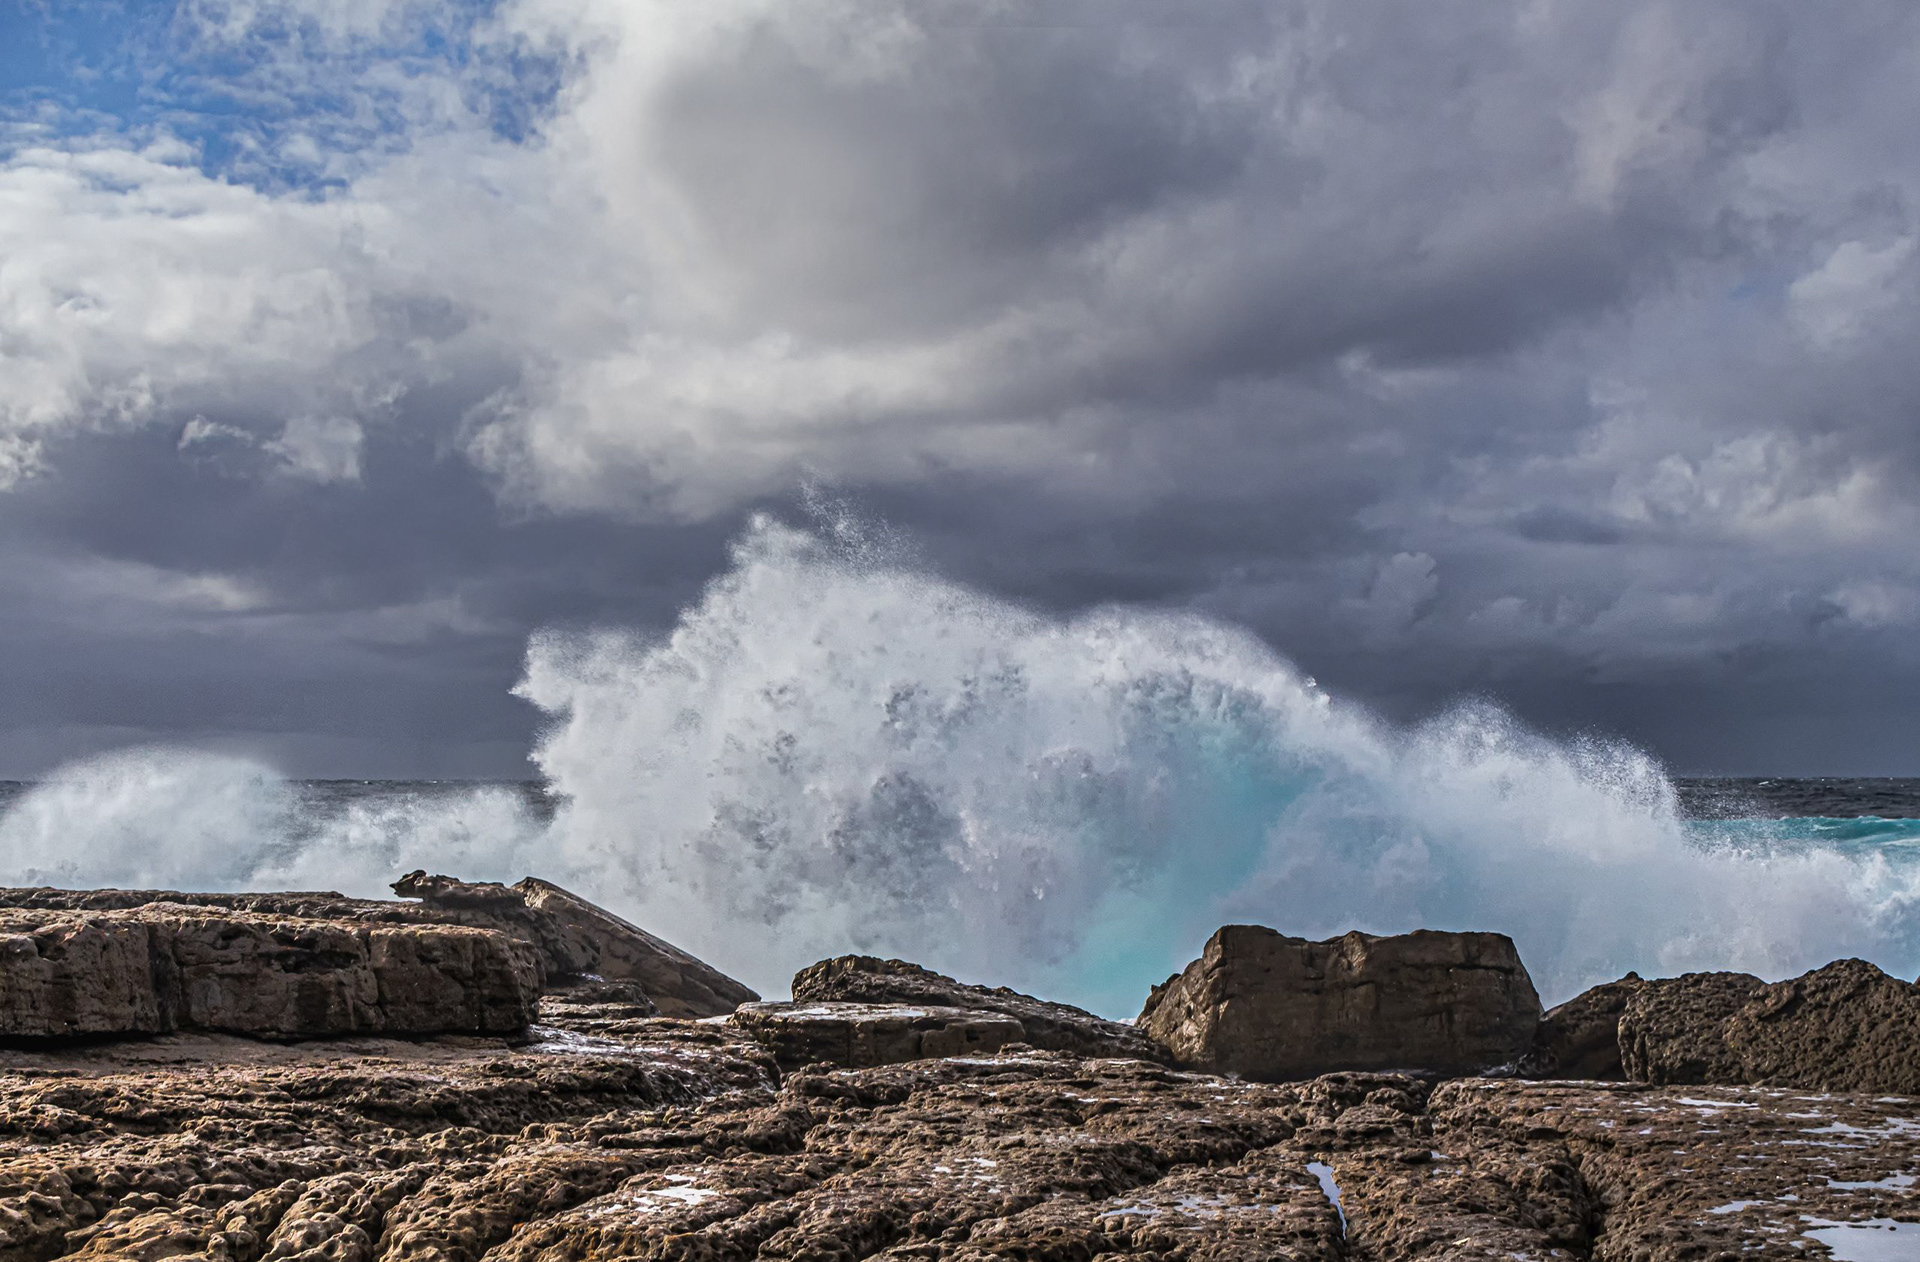
Moes Rock Rocking the Big Swell 3
Moes Rock Rocking the Big Swell 1
Moes Rock Rocking the Big Swell 5
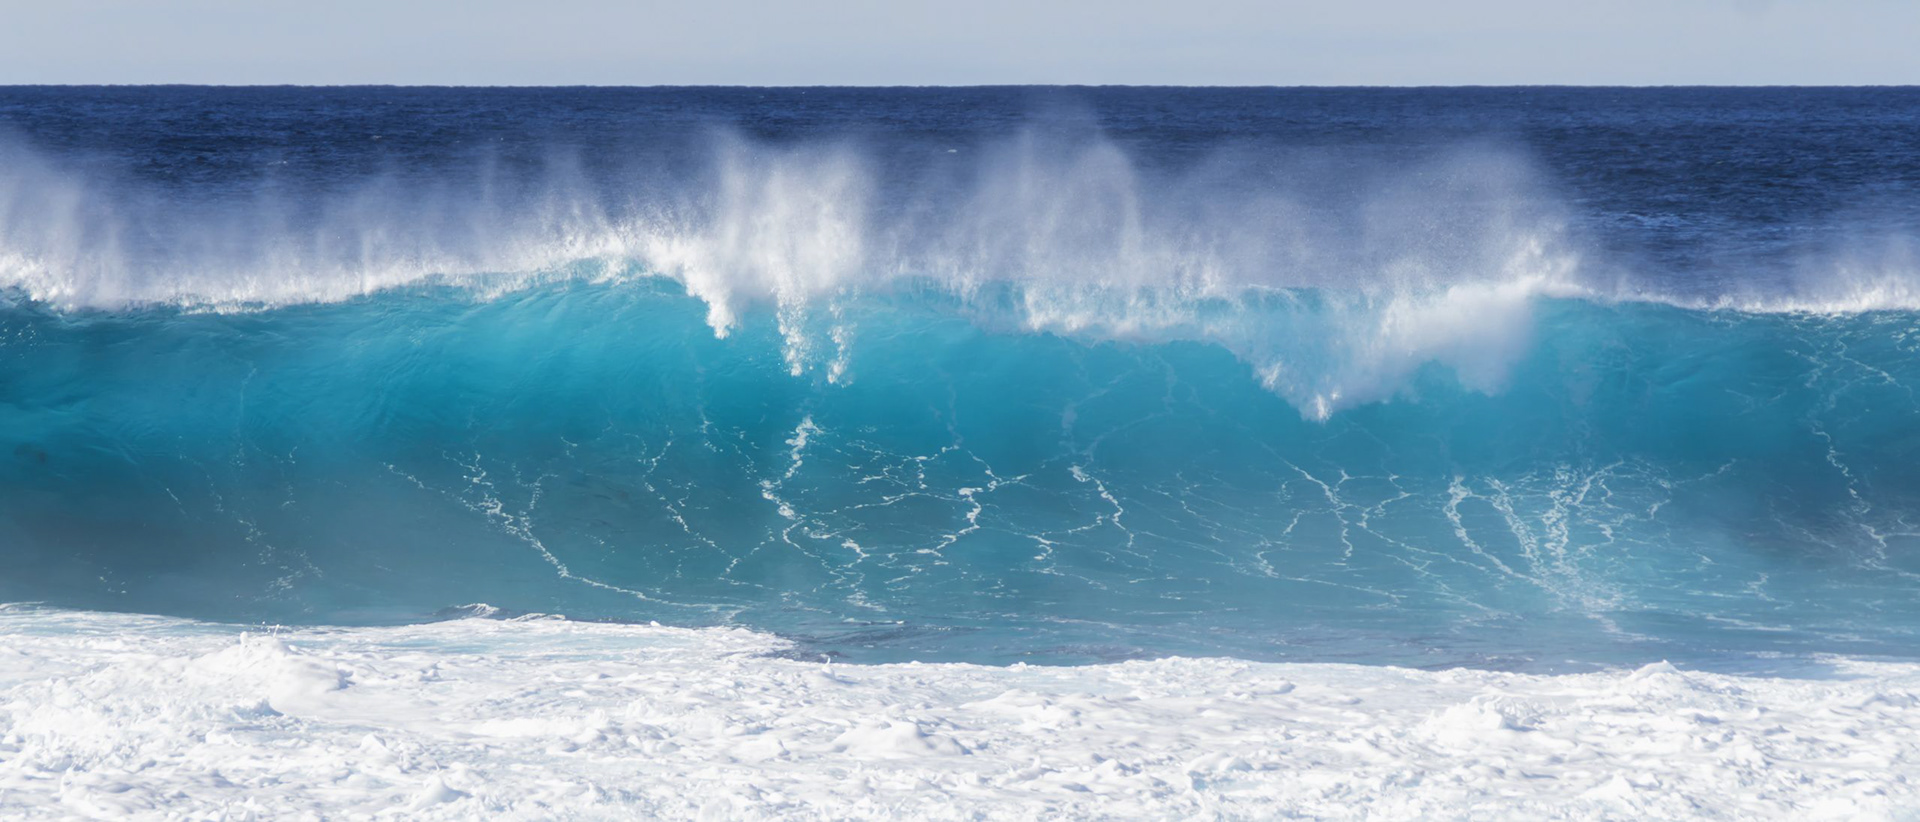
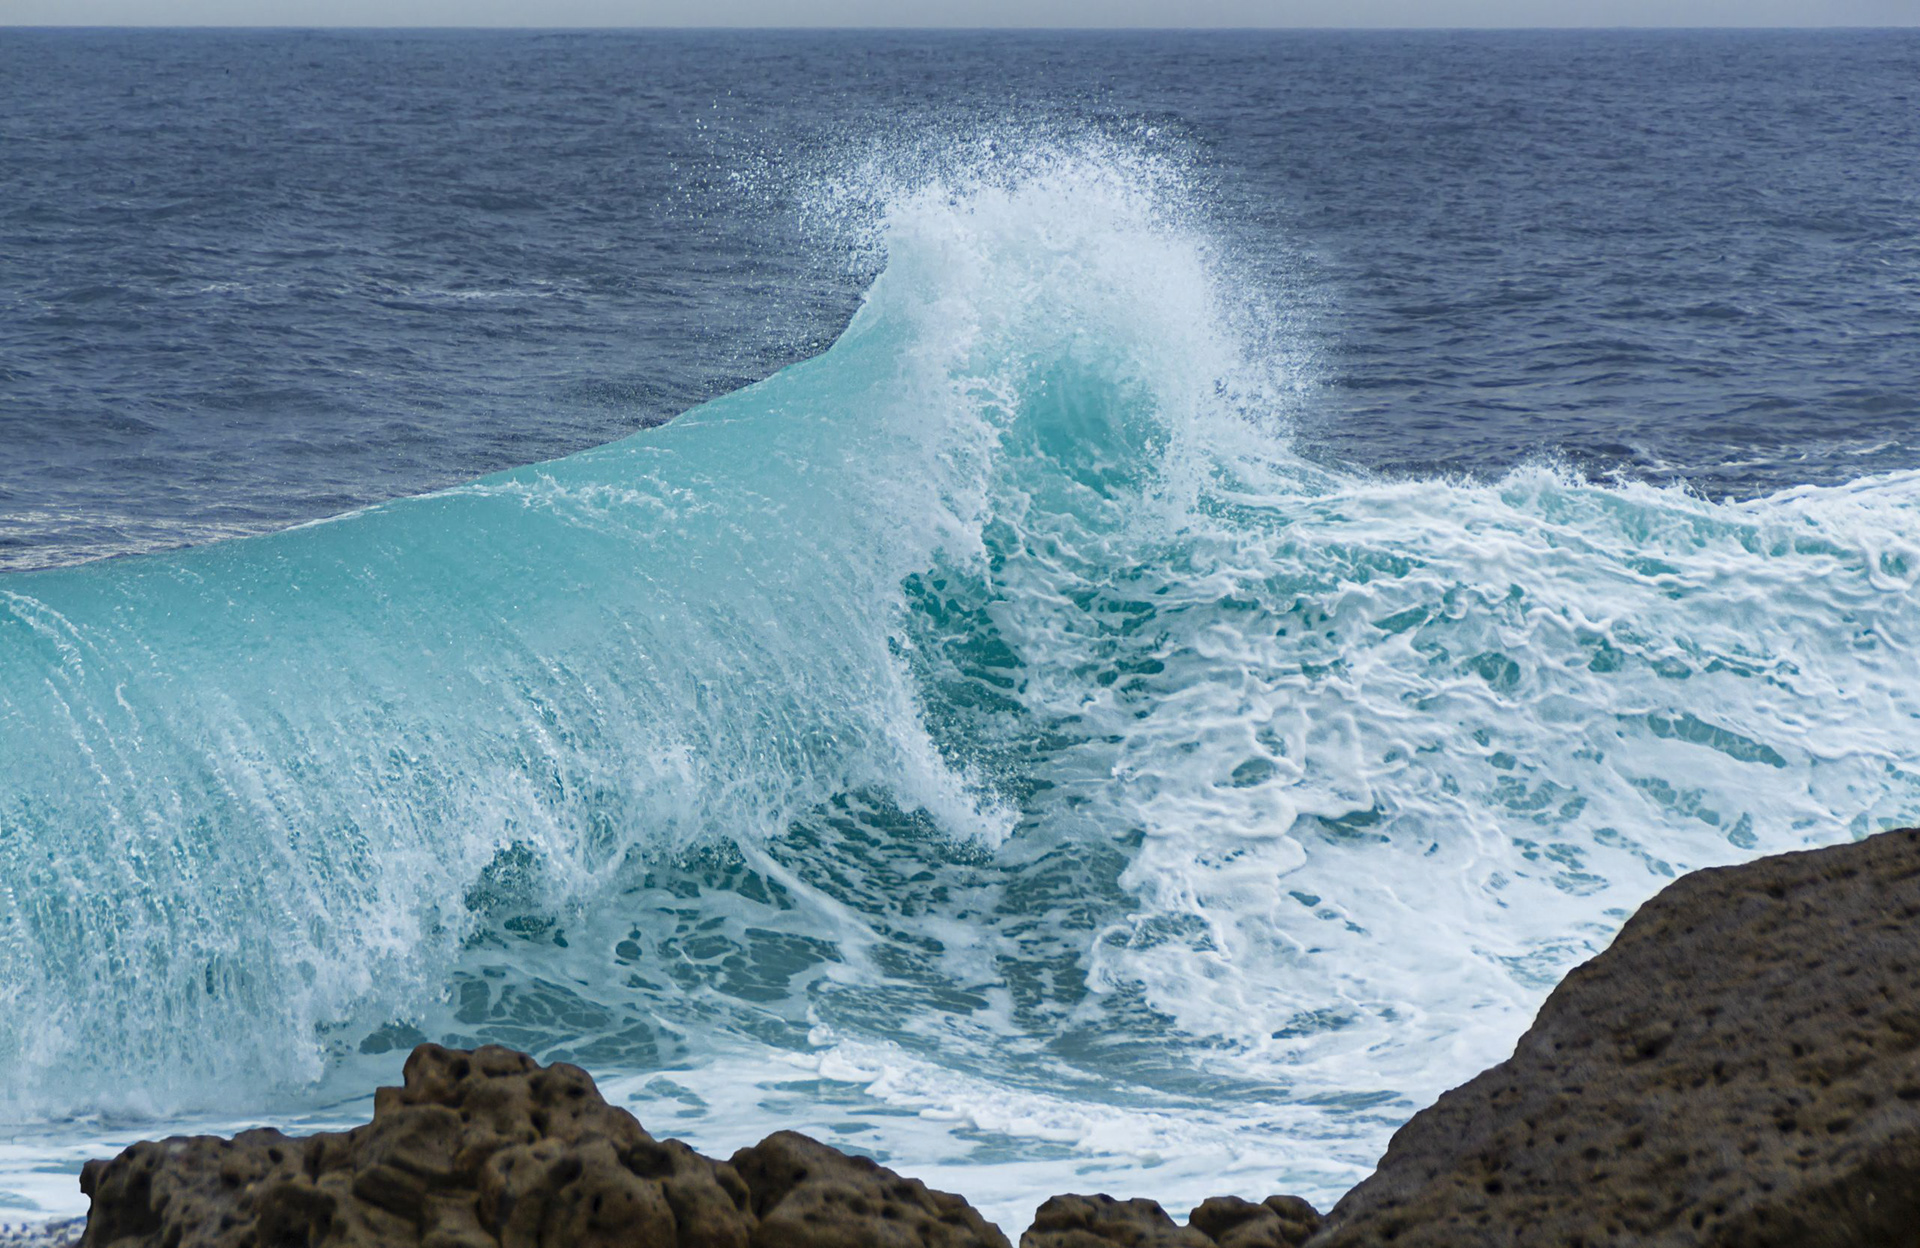
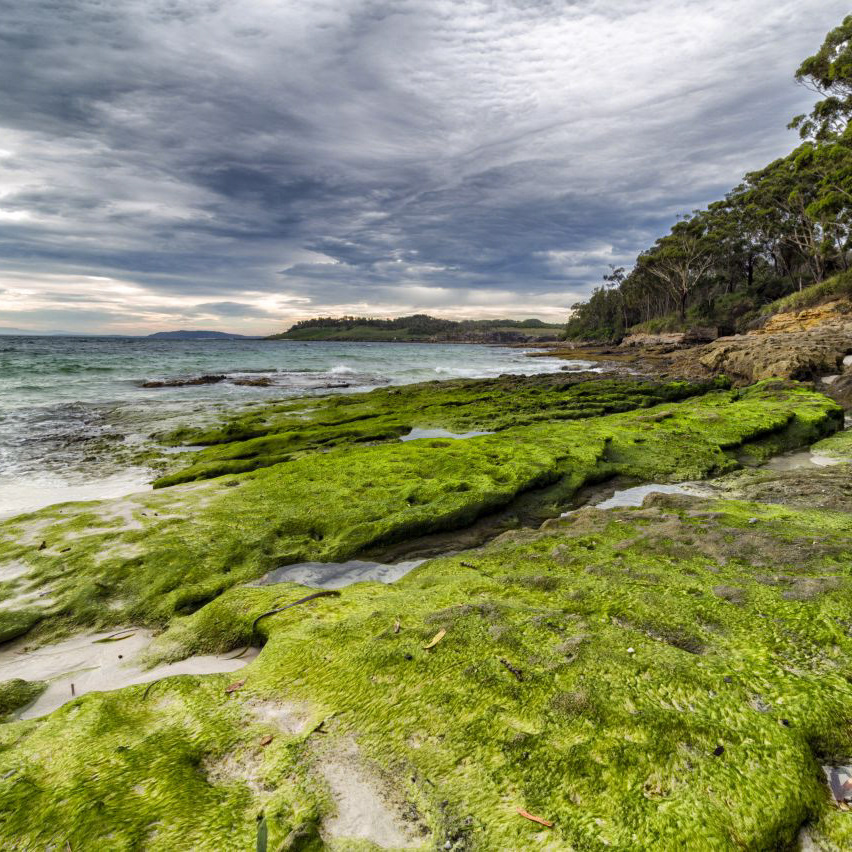
Turquoise Wave Jervis Bay
Moes Rock Rocking the Big Swell 2
Moes Rock The Tasman Sea
Moes Rock Winter Swell
Gnarly Waves at Dolphin Point 3
Gnarly Waves at Dolphin Point 6
Gnarly Waves at Dolphin Point 1
Gnarly Waves at Dolphin Point 2
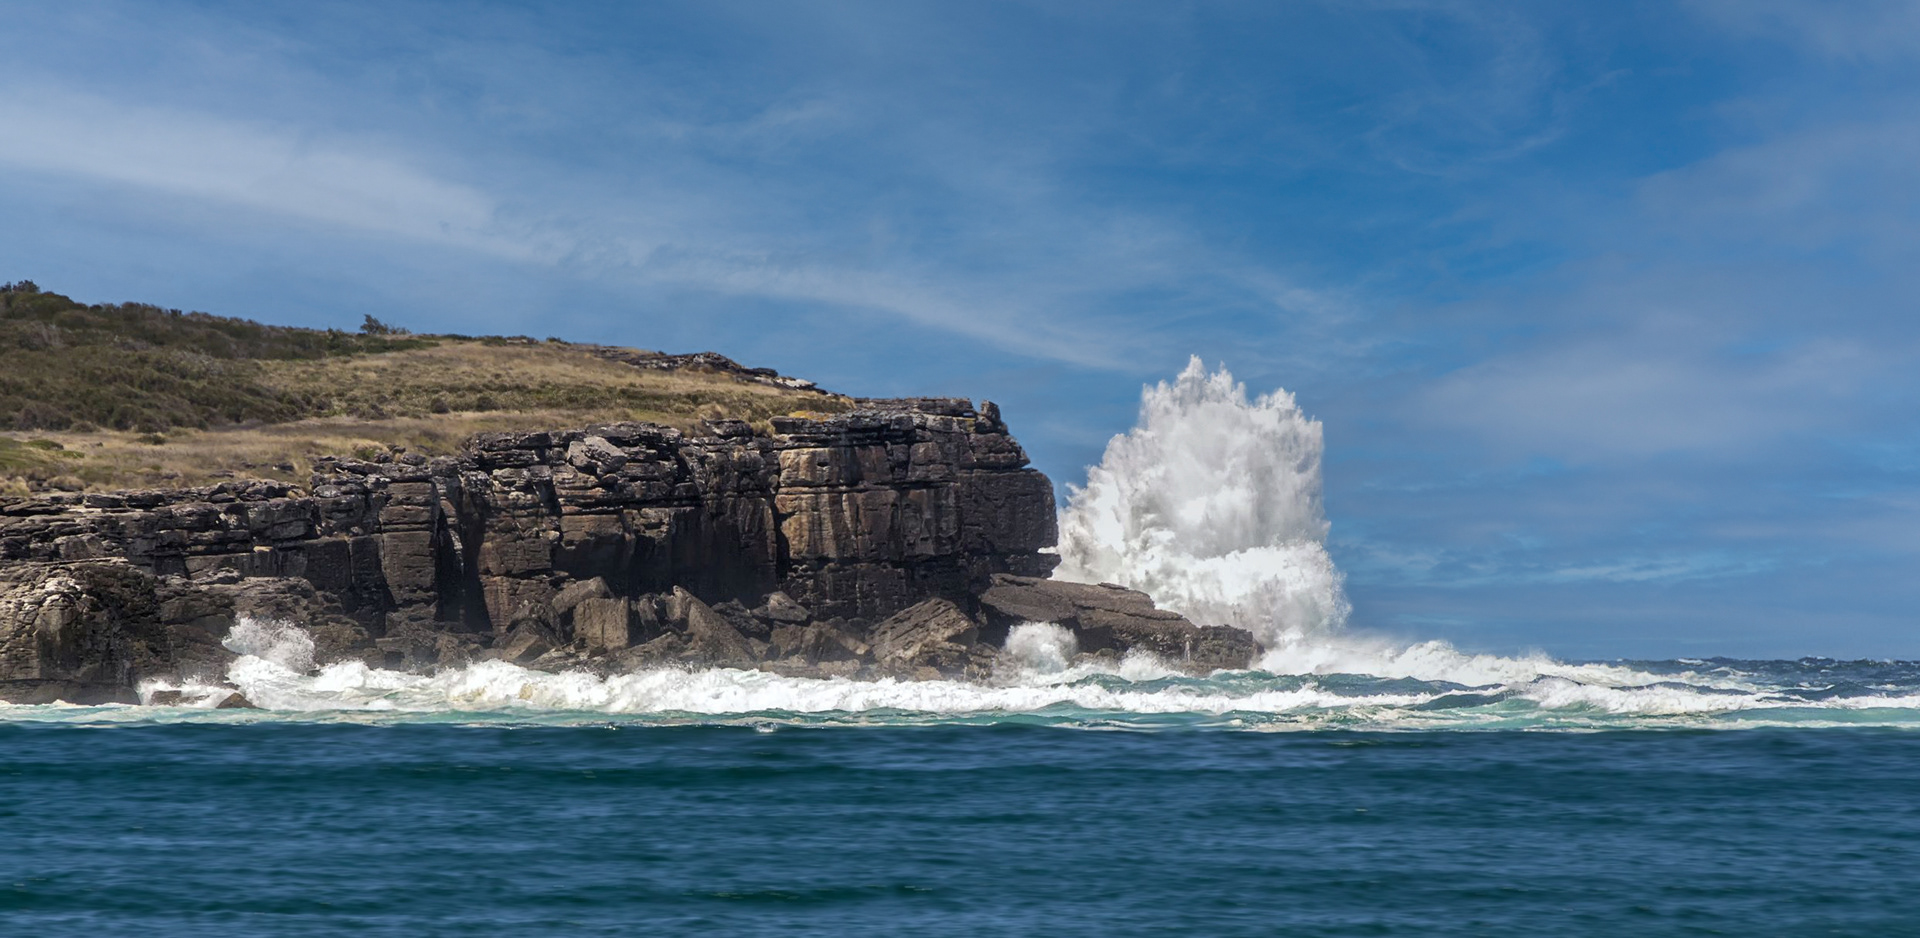
Bowen Island